Follow Me On Social Media!

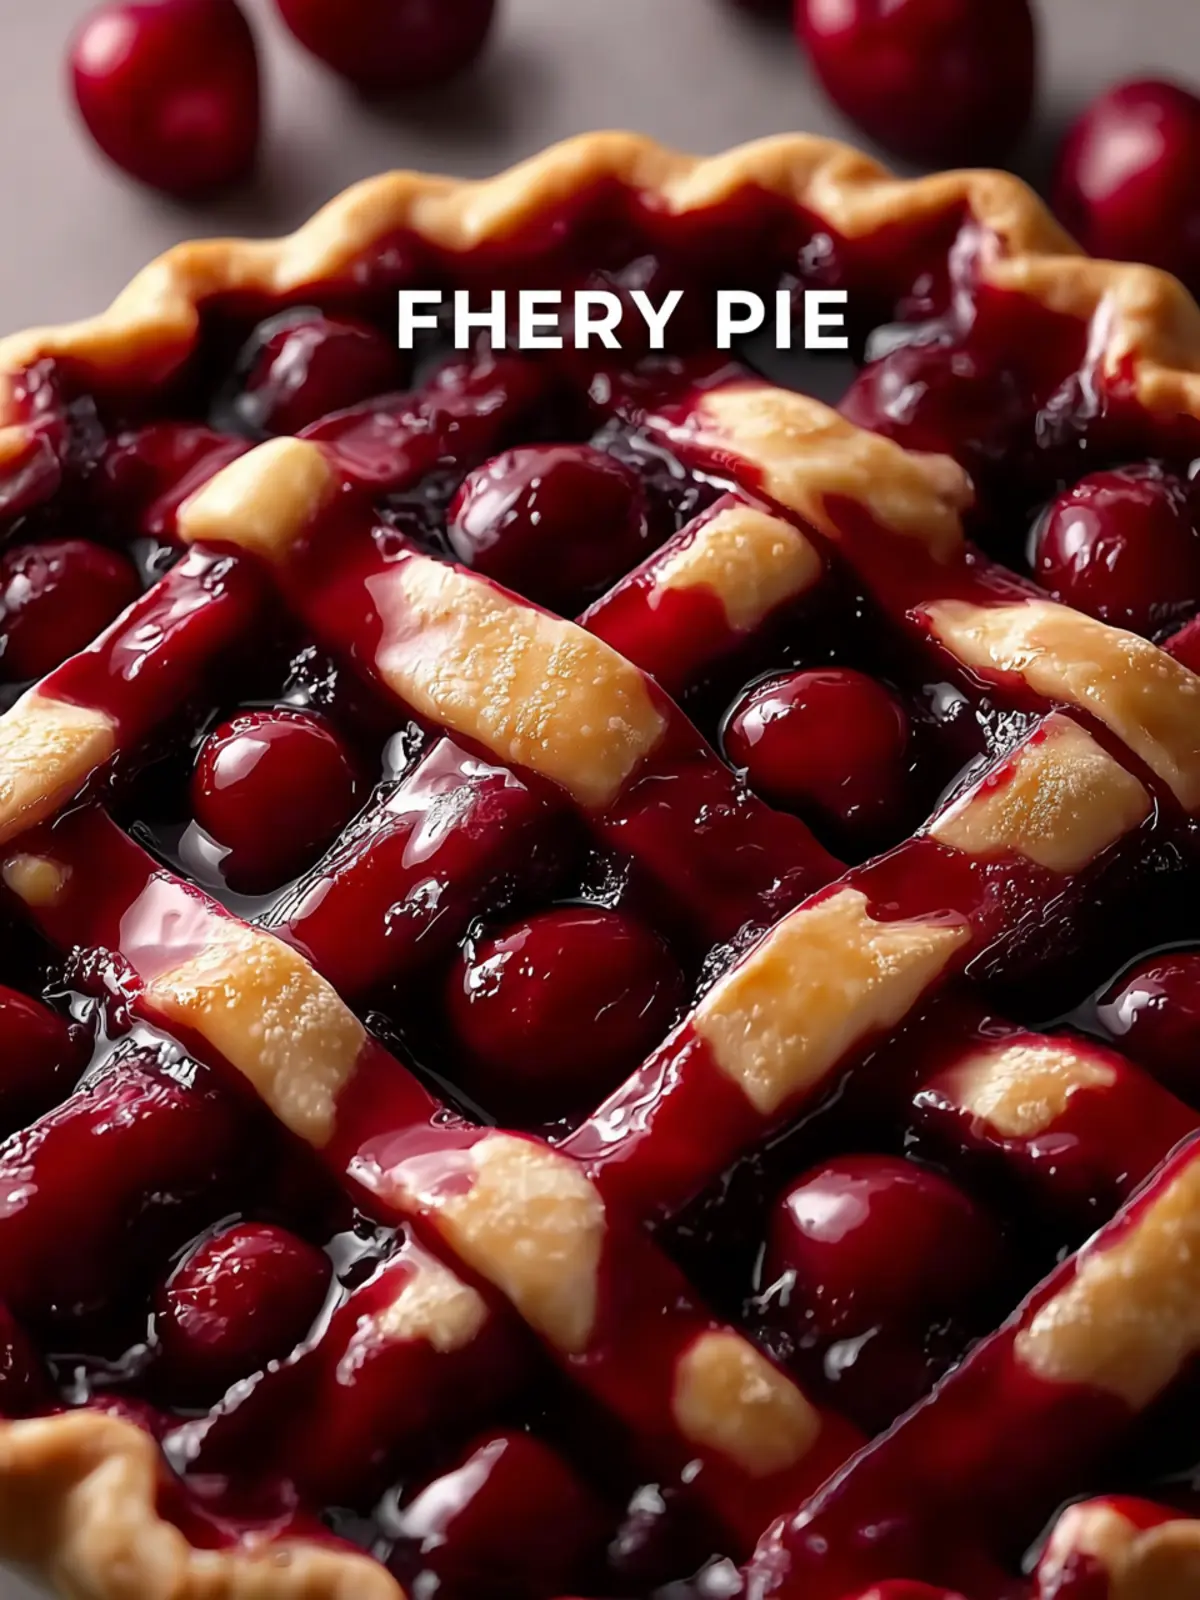
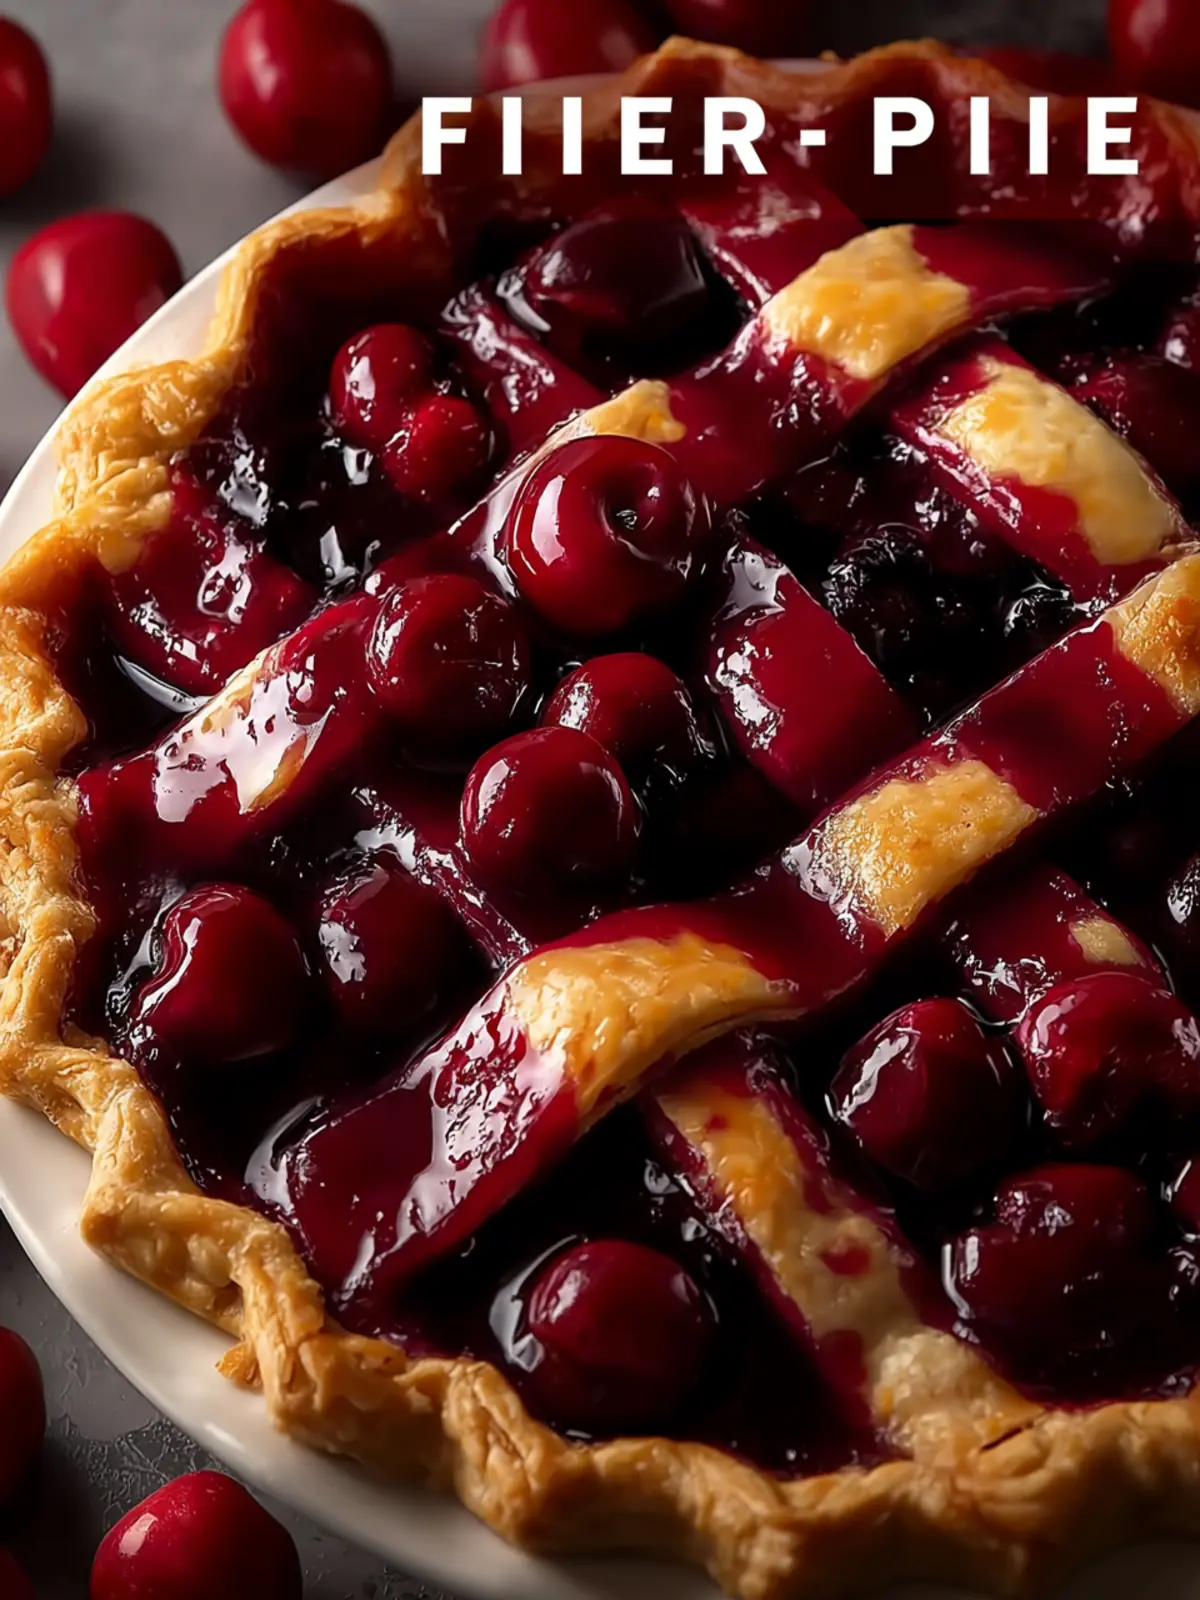
Homemade Cherry Pie Filling Fresh: Easy & Irresistibly Delicious!
Introduction to Homemade Cherry Pie Filling Fresh
Making homemade cherry pie filling fresh is like bottling up the essence of summer in a jar, allowing you to enjoy the sweet, tart flavors of cherries all year round. Imagine biting into a warm slice of pie, with luscious, glossy cherries spilling out, and the scent of vanilla wafting through the air. This recipe isn’t just about preserving fruit; it’s about crafting a nostalgic dessert that can bring back sunny afternoons spent baking with family or friends. There’s something truly special about using fresh cherries, and the result is worth every minute spent in the kitchen.
Why Homemade Cherry Pie Filling Stands Out
When it comes to cherry pie filling, nothing compares to the depth of flavor and texture you achieve with homemade ingredients. Here are several reasons why homemade cherry pie filling fresh is the way to go:
-
Flavor: Store-bought options often contain preservatives and artificial flavors. In contrast, by making your own filling, you can adjust the sweetness and acidity, tailoring it to your personal taste. Fresh cherries burst with flavor and sweetness that can’t be matched.
-
Quality Ingredients: Choosing the best cherries is key. Fresh, ripe cherries from your local farmer’s market will yield a filling that is not only tastier but also healthier. Plus, you can avoid additives and excess sugar often found in commercial versions.
-
Preservation of Tradition: Crafting your own cherry pie filling allows you to connect with age-old traditions. It’s an experience worth sharing with others, whether you’re whipping it up for a holiday gathering or just for a cozy night in.
-
Creativity: Making your own filling means you can experiment. Want to add a hint of almond extract or a dash of cinnamon? Go for it! The beauty of homemade is that it’s all up to you.
Dare to take the plunge into creating your own homemade cherry pie filling fresh, and watch how it elevates not just your pies but every family gathering that features this classic dessert. It’s a simple step that promises deliciously rewarding results.
Key Ingredients for Homemade Cherry Pie Filling Fresh
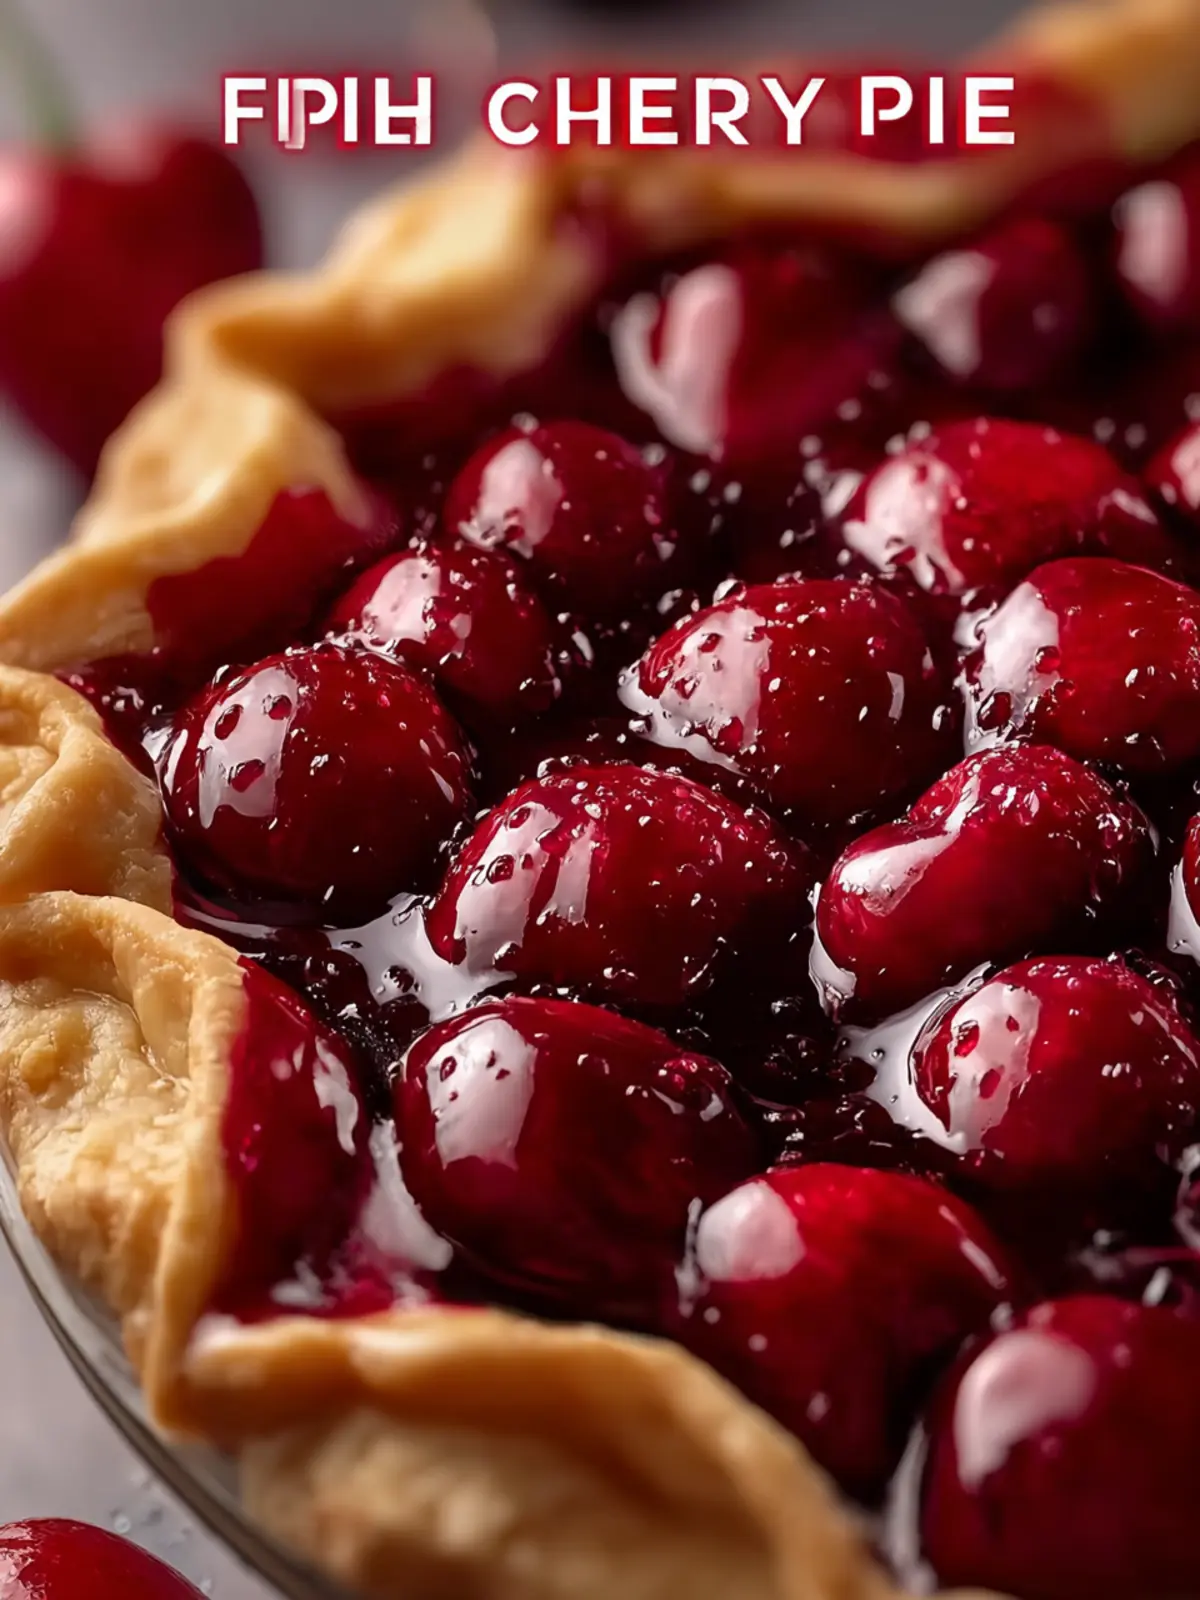
Cherries: To create the most delightful homemade cherry pie filling fresh, I always opt for the juiciest, in-season cherries. Fresh cherries provide a vibrant taste and natural sweetness that transforms your pie. If fresh isn’t an option, frozen pitted cherries work as a great alternative.
Sugar: For balance, I use granulated sugar to enhance the cherries’ flavors without overshadowing their natural tartness. Adjusting the sugar based on your fruit’s sweetness is key—taste as you go!
Cornstarch: This is my secret weapon for achieving that perfect, thick consistency. Cornstarch acts as a thickener and prevents the filling from becoming soupy while also ensuring that it sets beautifully once cooled.
Lemon Juice: A splash of fresh lemon juice brightens the filling and enhances the tartness of the cherries. It’s amazing how much depth a little acidity adds, making every bite more refreshing.
Almond Extract: Just a few drops of almond extract complement the cherry flavor beautifully. It gives your filling a rich, nutty undertone that’s surprisingly delightful.
With these ingredients, your homemade cherry pie filling fresh will be a breathtaking centerpiece for your dessert table!
Why You’ll Love This Recipe
When the craving for dessert hits, there’s something truly special about whipping up a batch of homemade cherry pie filling fresh from scratch. It’s more than just a delightful treat; it’s a cozy memory waiting to happen. Imagine a gathering where friends and family are drawn to the warm, inviting aroma of sweet cherries simmering on the stove, sparking conversations and laughter around your kitchen table.
Simple Ingredients, Delicious Results
One of the best aspects of making your own cherry pie filling is the simplicity of the ingredients. All you need is fresh cherries, sugar, cornstarch, lemon juice, and a pinch of salt. Each one plays a vital role in creating a filling that bursts with flavor. You’ll discover that fresh cherries bring a vibrant taste that canned varieties just can’t match. Plus, controlling the sweetness allows you to adjust to your preferences and dietary restrictions.
Versatility at Its Best
What’s even better? This versatile filling can be used in various recipes beyond pies — think tarts, pancakes, or even as a topping for vanilla ice cream. The possibilities are endless, and you’ll find yourself experimenting with different desserts that will wow your guests. With just a bit of creativity, your homemade cherry pie filling can shine in countless culinary adventures.
Lasting Impressions
Creating homemade cherry pie filling fresh is not just about the end result; it’s about the experience and joy that comes from making something with your own hands. So gather those ingredients and get ready to indulge in a recipe that speaks to both your taste buds and your heart. Your future self will thank you every time you reach into the fridge for that delicious jar filled with memories.
Variations on Cherry Pie Filling
When you’re diving into the world of homemade cherry pie filling fresh, the possibilities extend far beyond just cherries. Why limit yourself to the classic when you can embrace a myriad of delicious alternatives? Here are some fun variations that can elevate your dessert game.
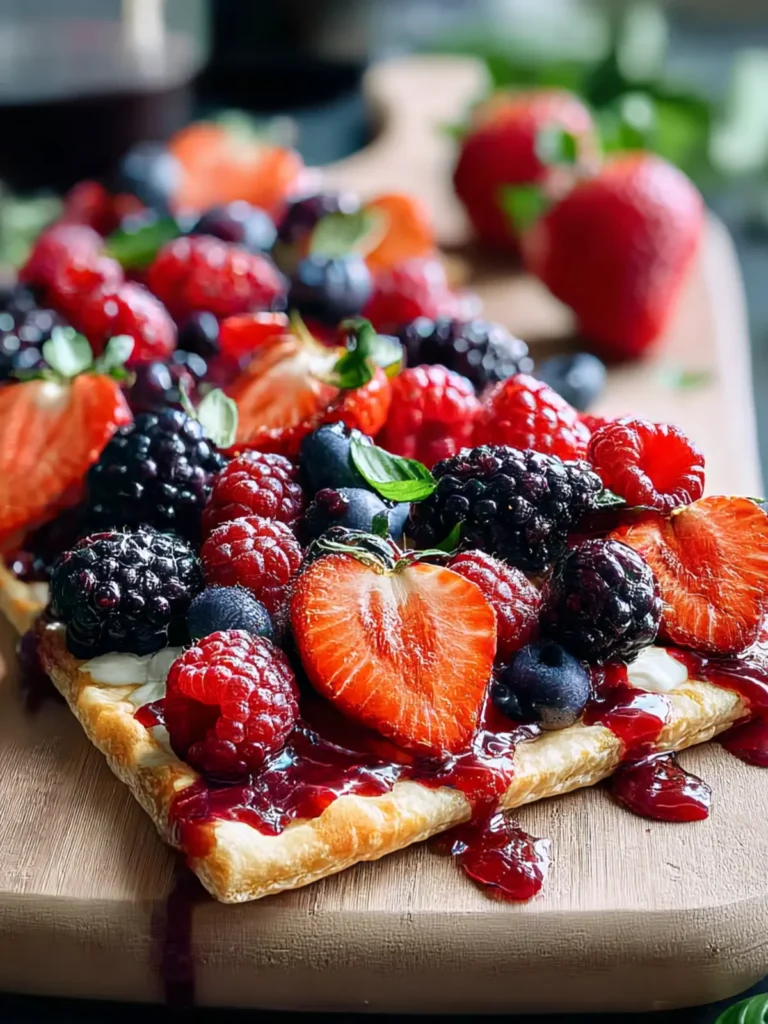
Mixed Berry Bliss
Combine sweet cherries with other berries like blueberries, raspberries, or strawberries. The mix not only enhances the flavor but also adds beautiful color and texture to your pie. You can create a delightful mixed berry filling by using an equal ratio of cherries to the other berries.
Citrus Zest Infusion
For a refreshing twist, adding lemon or orange zest can brighten the natural sweetness of the cherry filling. Just a teaspoon or two mixed into your filling can lift your pie to a new level, creating a delightful contrast to the rich cherry flavor.
Almond Extract Kick
Just a splash of almond extract can give your homemade cherry pie filling fresh a unique flavor profile reminiscent of marzipan. The subtle nuttiness beautifully complements the cherries, creating an aromatic experience that brings warmth to the palate.
Spiced Sensation
Add a pinch of cinnamon or nutmeg for a warming spice note that contrasts the sweetness of the cherries. This is especially delightful in fall or winter, making your pie not just a dessert but a seasonal celebration.
By experimenting with these variations, you can personalize your cherry pie filling to perfectly suit your taste buds and impress your guests!
Cooking Tips and Notes
Perfecting Your Cherry Pie Filling
Creating homemade cherry pie filling fresh is a delightful journey that transports you to sunny orchards with every bite. The key to achieving that perfect balance of flavor and texture lies in a few thoughtful techniques and ingredient choices.
-
Choose the Right Cherries: Opt for ripe, sweet cherries that are in season, as they provide the best natural sweetness. If you can, go for dark sweet cherries; they add a rich depth to your filling.
-
Thicken to Perfection: Cornstarch is my go-to for thickening the filling. Make sure you dissolve it in a bit of cold water before adding it to the cherries; this ensures a smooth consistency without lumps.
-
Adjust Sweetness: Depending on your cherries’ natural sweetness, feel free to adjust the sugar. Taste as you go — just remember, it’s easier to add more sugar than to take it away!
-
Let It Cool: After cooking your filling, allow it to cool completely before using it in your pie. This helps it thicken even more and prevents a soggy crust.
-
Spice It Up: Adding a pinch of vanilla or almond extract can elevate the flavor profile. Just a hint will bring an unexpected richness to your homemade cherry pie filling fresh.
Remember, cooking is as much about enjoyment as it is about precision. Follow these tips, and you’ll be well on your way to creating a cherry pie filling that steals the spotlight!
Serving Suggestions for Cherry Pie Filling
Creating homemade cherry pie filling fresh isn’t just about enjoying it in a pie; this delectable filling can enhance a variety of desserts and dishes. Picture this: you’ve whipped up a batch of cherry pie filling, and you’re thinking about how to elevate your culinary creations. Here are some delightful serving suggestions to transform your cherry pie filling into a star ingredient.
-
Over Ice Cream: Pour warm or cold cherry pie filling over a scoop of vanilla ice cream. The sweet and tart flavors work beautifully with the creaminess, making for an indulgent dessert.
-
On Pancakes or Waffles: Drizzle the filling over fluffy pancakes or waffles for a delicious breakfast treat that feels like a special occasion any morning.
-
In Yogurt Parfaits: Layer cherry pie filling with Greek yogurt and granola for a nutritious, flavorful breakfast or snack. It adds a lovely fruity touch!
-
As a Tart Filling: Use your cherry filling as a tart filling in a pre-baked pastry shell. Top it with whipped cream for a chic dessert.
-
With Cheesecake: Swirl the filling into creamy cheesecake batter before baking, or use it as a topping for individual cheesecake slices to impress guests.
These suggestions allow you to savor your homemade cherry pie filling fresh beyond the pie, making every bite a delicious journey!
Time Breakdown for Making Cherry Pie Filling
Creating your own homemade cherry pie filling fresh can be a rewarding experience, allowing the natural sweetness and tartness of cherries to shine through. Here’s how to manage your time effectively to enjoy this delightful project!
Preparation Time
Set aside about 15 minutes to prepare your cherries, ensuring they’re pitted and ready for cooking. This is the most hands-on part of the process, but it’s worth the effort!
Cooking Time
Next, allow approximately 20 minutes for cooking the mixture. You’ll be combining the cherries with sugar and cornstarch over heat, stirring until it thickens and the flavors meld beautifully.
Total Time
In total, you’ll spend around 35 minutes to create your flavorful cherry pie filling. This means you can whip it up quickly, leaving you plenty of time to focus on your pie crust or other preparations!
Nutritional Facts of Cherry Pie Filling
Understanding the nutritional profile of homemade cherry pie filling fresh can help you indulge more mindfully. Each serving holds a delightful balance of flavors and nutrients that create a delicious topping for various desserts.
Calories
A standard serving of homemade cherry pie filling typically contains around 100-150 calories, making it a treat you can enjoy without excessive guilt.
Carbohydrates
With approximately 25-35 grams of carbohydrates per serving, this filling provides a quick energy boost that pairs perfectly with a warm slice of pie.
Sugar Content
The sugar content can vary greatly depending on how sweet your cherries are, but you’ll generally find about 15-20 grams of sugar per serving. This sweetness is what makes your desserts truly irresistible!
FAQs About Cherry Pie Filling
When making homemade cherry pie filling fresh, it’s natural to have a few questions. Let’s address some common concerns to enhance your cherry pie-making experience!
How do I know when the filling is thick enough?
The sweetness of homemade cherry pie filling fresh can be delightful, but achieving the perfect consistency is vital. You’ll know your filling is thick enough when it coats the back of a spoon and holds its shape without too much runniness. Typically, after simmering for about 5-10 minutes, you can start testing. If you want a more precise method, try spooning a bit of the filling onto a plate and letting it cool for a minute. Run your finger through it; if the line holds without running back together, you’re good to go!
Can I use other fruits for pie filling?
Absolutely! While cherries hold a special place in our hearts, you can create lovely fillings with other fruits such as blueberries, peaches, or even mixed berries. Just keep in mind that different fruits have varying water content and sweetness levels. For instance, strawberries may require additional sugar, while peaches may need a little more lemon juice to balance out their sweetness.
What are the best ways to store leftover cherry pie filling?
If you find yourself with extra homemade cherry pie filling fresh, no worries! You can store it in an airtight container in the refrigerator for up to a week. For longer storage, consider freezing it. Just let the filling cool completely, and then transfer it to a freezer-safe bag or container. It should keep well for up to six months. When you’re ready to use it again, simply thaw it in the refrigerator overnight before incorporating it into your next baking adventure.
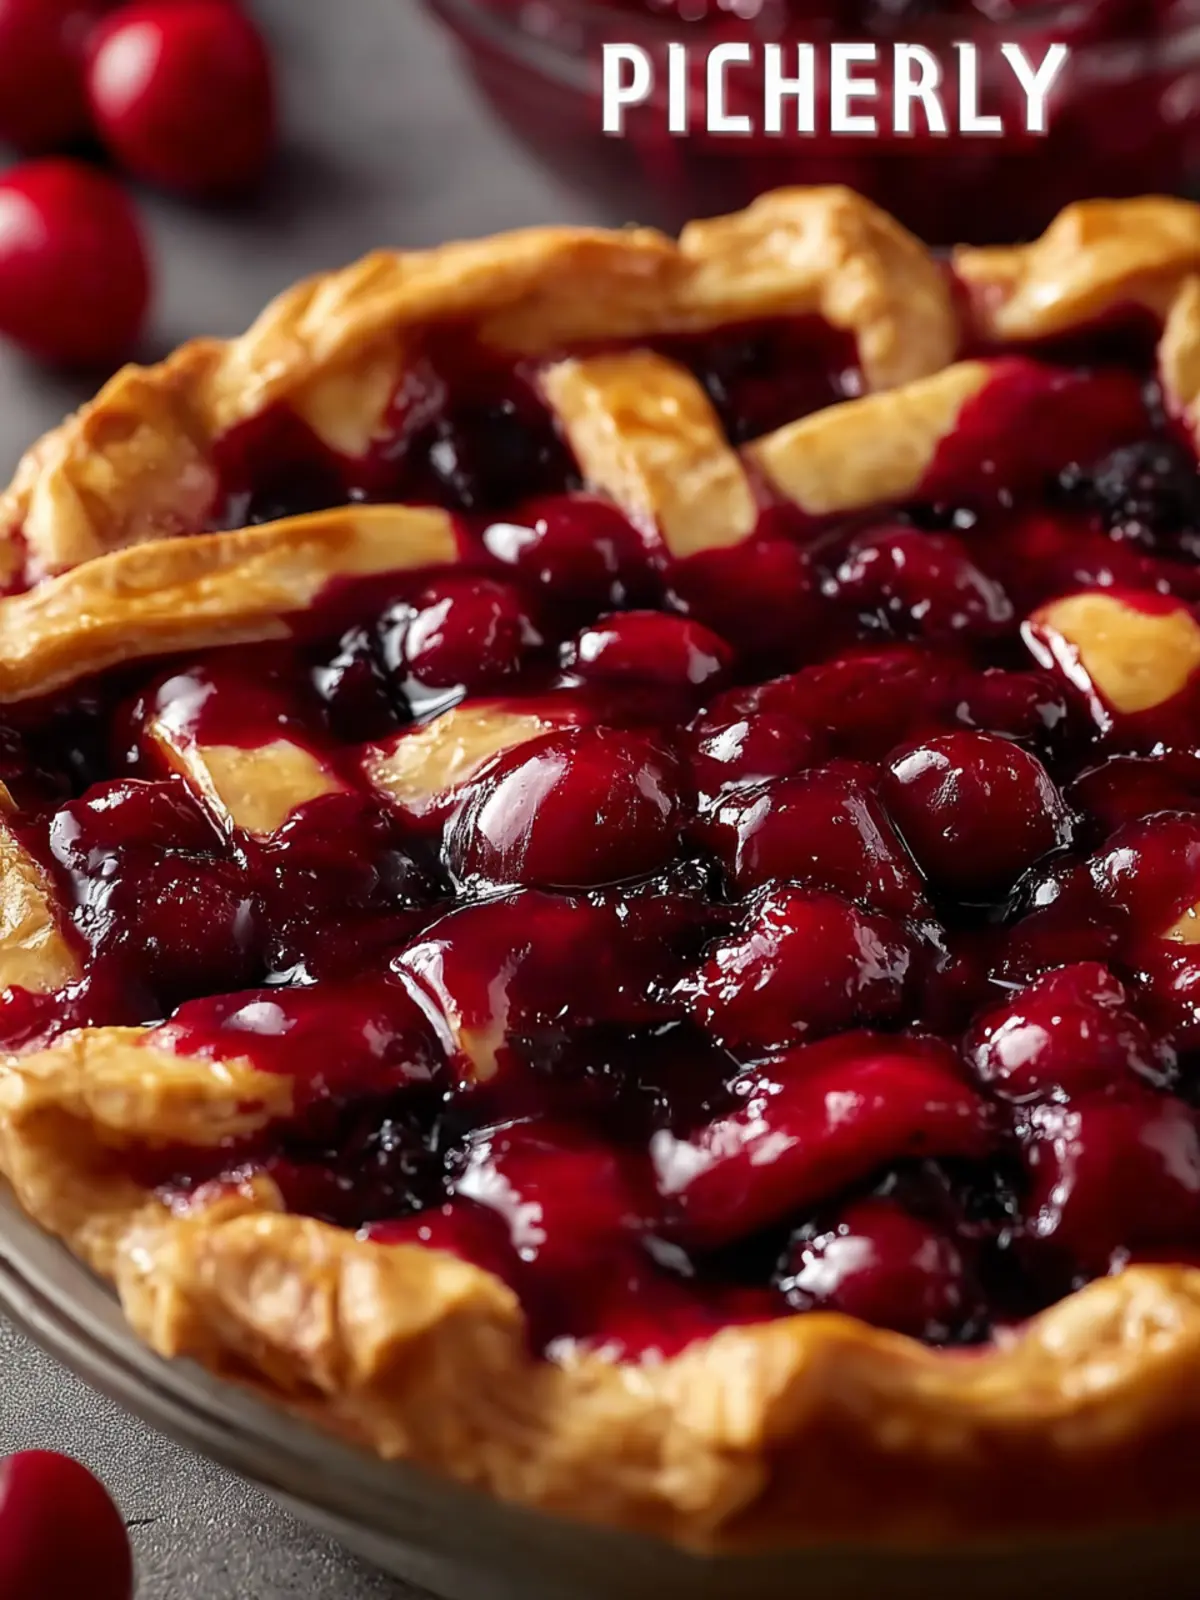
Conclusion on Homemade Cherry Pie Filling Fresh
Creating your own homemade cherry pie filling fresh is not just a culinary task; it’s an opportunity to connect with timeless traditions while enjoying the fruits of your labor (literally!). This delightful filling offers a vibrant burst of flavor that enhances any dessert, whether it’s nestled in a flaky pie crust or served atop a creamy scoop of vanilla ice cream. The use of fresh cherries elevates the dish, making it a standout treat for summer gatherings and cozy family dinners alike. Plus, with just a handful of ingredients, you can savor the winning combination of sweet and tart that only homemade cherry pie filling fresh can deliver.
Print
Cherry Filling
- Total Time: 25 minutes
- Yield: 2 cups 1x
- Diet: Vegetarian
Description
This cherry filling is perfect for pies and desserts, made with fresh or frozen cherries and simple ingredients.
Ingredients
Scale
- 4 cups cherries, pitted (fresh or frozen)
- ¾ cup granulated sugar
- ¼ cup cornstarch
- 1 tablespoon lemon juice
- ½ teaspoon almond extract
- ¼ cup water (or cherry juice)
- Pinch of salt
Instructions
- PREP THE CHERRIES: Wash and pit the cherries if using fresh. If using frozen cherries, measure out 4 cups and set aside without thawing.
- MIX THE THICKENER: In a small bowl, whisk together the sugar, cornstarch, and salt to eliminate lumps before cooking.
- COOK THE FILLING: In a medium saucepan over medium heat, combine cherries, lemon juice, and water. Stir in the cornstarch mixture and continue stirring until evenly distributed.
- SIMMER UNTIL THICKENED: Cook the mixture, stirring often, until it begins to bubble. Continue simmering for 5–7 minutes, or until the sauce thickens and becomes glossy.
- ADD FINAL FLAVORS: Remove the pan from heat and stir in the almond extract. Let the filling cool slightly to allow it to thicken further.
- USE OR STORE: Use immediately for pies or other desserts, or transfer to an airtight container and refrigerate for up to one week.
Notes
- This filling can be made ahead of time and stored in the refrigerator.
- Great for both sweet and tart pies.
- Adjust the sweetness according to the tartness of the cherries used.
- Prep Time: 10 minutes
- Cook Time: 15 minutes
- Category: Dessert
- Method: Stovetop
- Cuisine: American
Nutrition
- Serving Size: ½ cup
- Calories: 200
- Sugar: 20g
- Sodium: 5mg
- Fat: 0g
- Saturated Fat: 0g
- Unsaturated Fat: 0g
- Trans Fat: 0g
- Carbohydrates: 50g
- Fiber: 2g
- Protein: 1g
- Cholesterol: 0mg