Follow Me On Social Media!

Bunny Paw Print Cookies: Irresistibly Cute and Delicious!
Introduction to Bunny Paw Print Cookies
Imagine a delightful afternoon spent baking in your kitchen, the sweet scent wafting through the air as you prepare to make Bunny Paw Print Cookies. These charming cookies are not just a feast for the eyes, but they also beckon a wave of nostalgia, reminding us of playful moments and sunny days filled with laughter. With their adorable paw print design, they’re perfect for festive gatherings or simply to brighten someone’s day.
What makes Bunny Paw Print Cookies a delightful treat?
Bunny Paw Print Cookies stand out for several reasons, setting them apart from your average cookie batch:
-
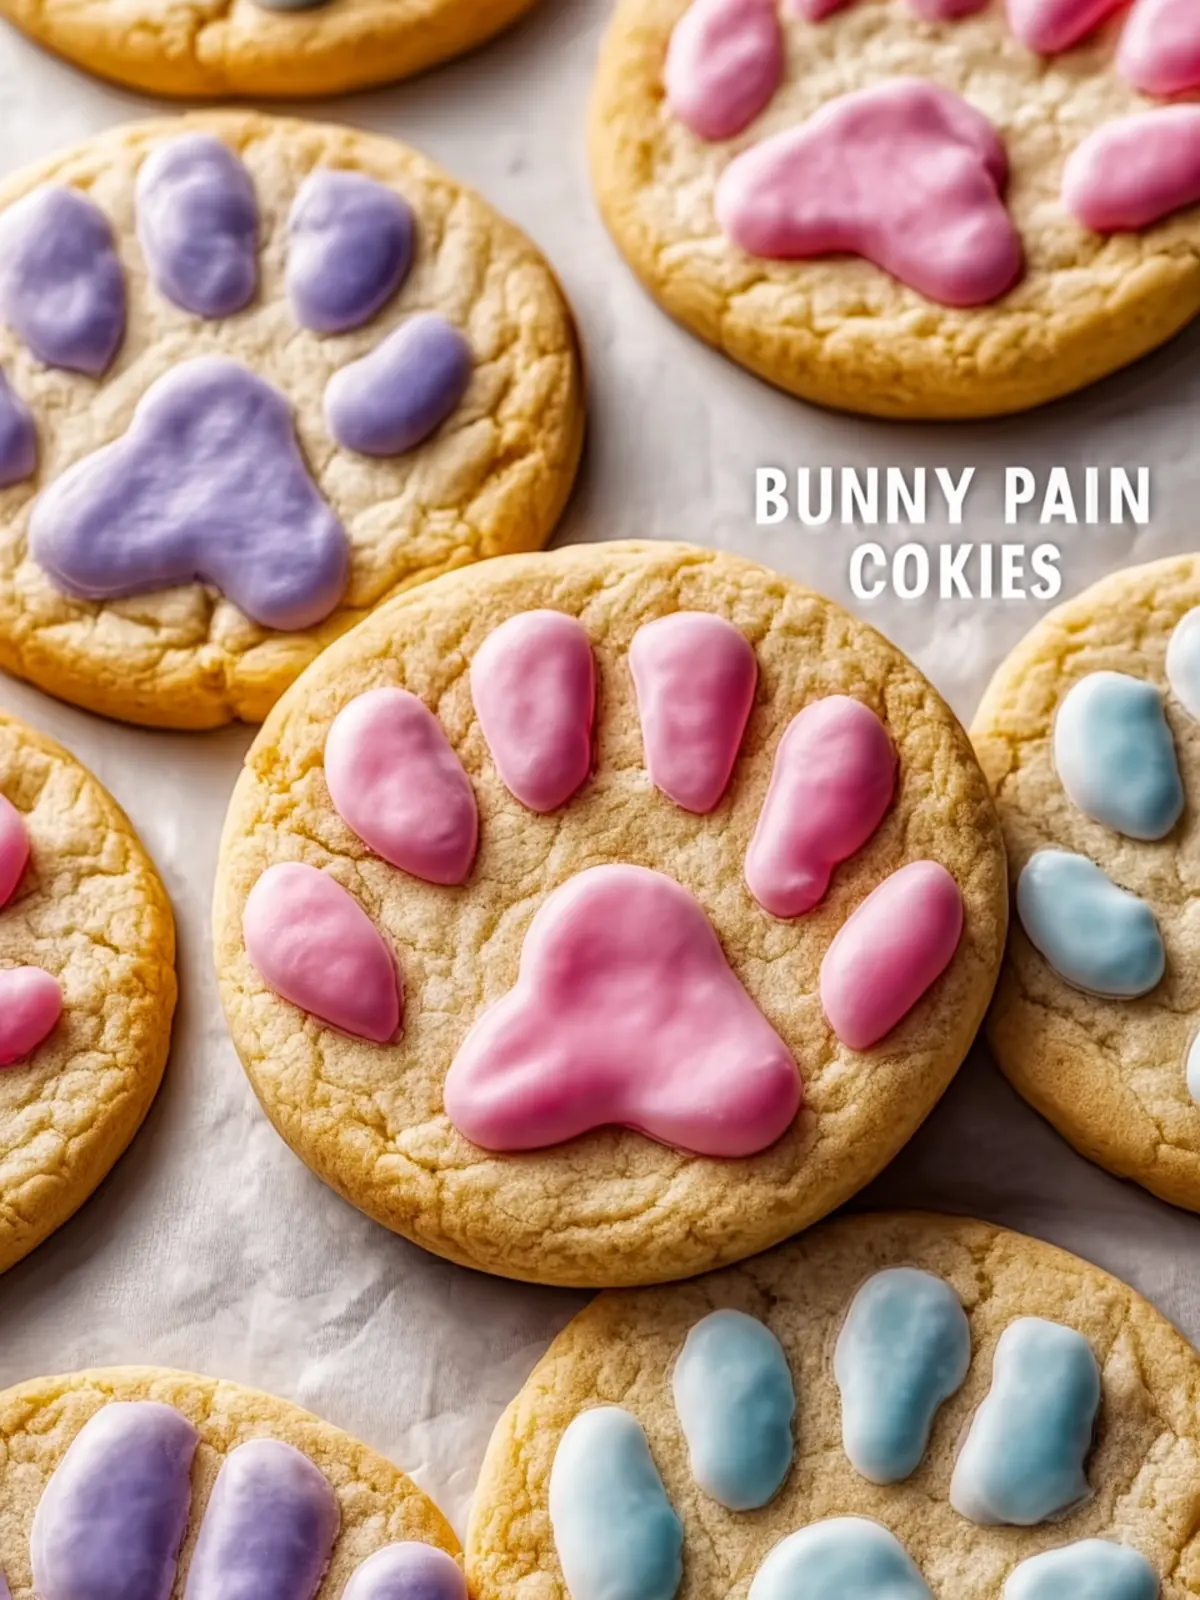
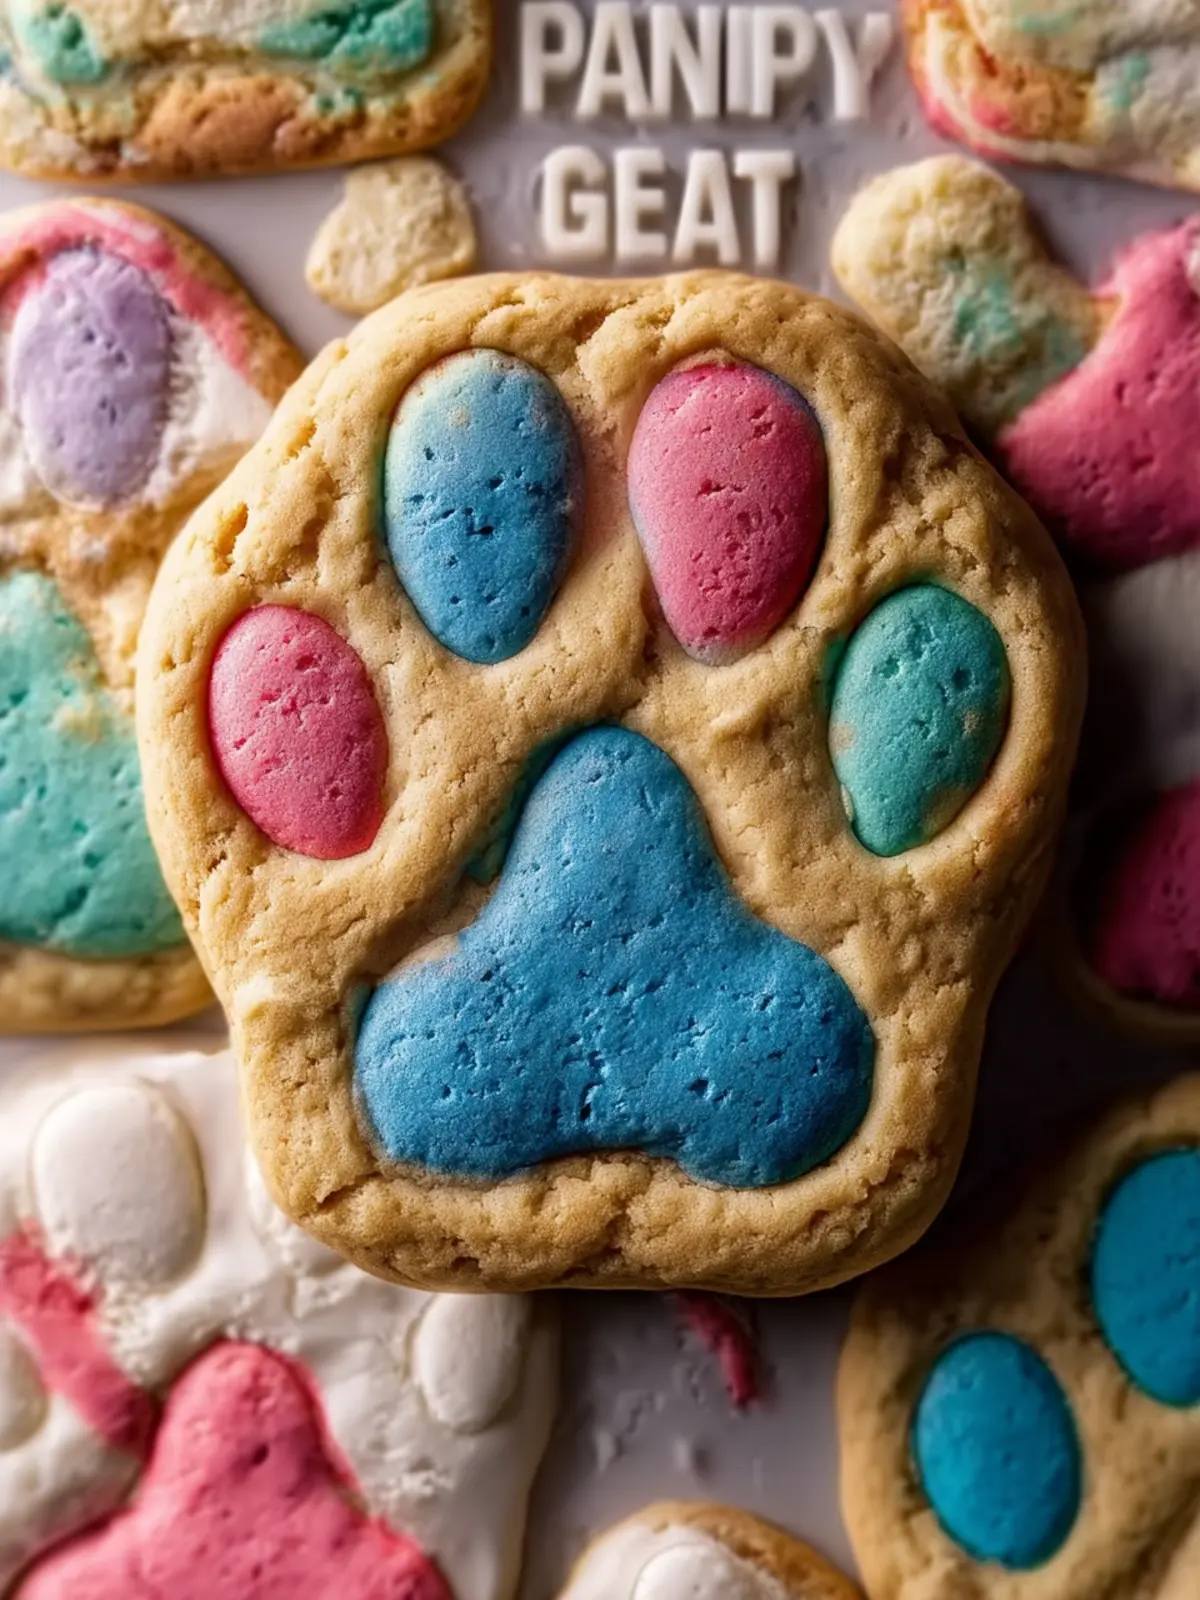
Eye-Catching Design: The cheerful paw print pattern, complete with a bit of chocolate or icing for the paw pads, makes these cookies fun and visually appealing. They are a hit for Easter celebrations, pet-themed gatherings, or any occasion where you want to spread some joy.
-
Versatile Flavor: The base cookie recipe is wonderfully adaptable. You can customize it by adding your favorite flavors, whether it’s hints of vanilla, almond, or perhaps a touch of cocoa. This flexibility allows you to create a unique twist that speaks to your taste buds.
-
Child-Friendly Activity: Baking these cookies isn’t just about the end result; it’s an activity you can enjoy with friends or family. Kids love helping to shape the dough and decorate the cookies, making it an engaging way to bond and create lasting memories.
-
Great for Gifting: Once baked and decorated, Bunny Paw Print Cookies make thoughtful gifts. Pack them in a cute box or arrange on a platter, and they’re ready to wow at any gathering!
Whether you’re baking them to share with friends, to celebrate a holiday, or simply to enjoy at home, these cookies are bound to brighten your day. So, roll up your sleeves, gather your ingredients, and get ready to create some delightful Bunny Paw Print Cookies that everyone will adore!
Key Ingredients for Bunny Paw Print Cookies
Creating delightful bunny paw print cookies allows you to whip up a delicious treat while tapping into an adorable theme that’s perfect for any springtime celebration. Each ingredient plays a pivotal role in bringing these cookies to life, both in flavor and in presentation.
-
Butter: Using unsalted butter adds a rich creaminess to the cookies. Make sure it’s softened to room temperature for easy blending with the sugars, ensuring a smooth texture that melts in your mouth.
-
Sugar: This recipe combines granulated sugar for sweetness and light brown sugar for a hint of caramel flavor. This dynamic duo not only sweetens but also contributes to a chewy texture that balances beautifully with the cookie’s crisp edges.
-
Flour: All-purpose flour is your go-to here, providing the right structure for your cookies. Sifting it well ensures an even consistency, resulting in cookies that rise perfectly in the oven.
-
Eggs: Eggs act as a binder and add moisture. Make sure to use large eggs, as they provide just the right amount of liquid without altering the cookie’s texture.
-
Baking Powder: This is your secret weapon for achieving a soft, fluffy finish. Just the right amount will help your cookies puff up beautifully, making those paw prints stand out.
-
Chocolate Chips: These will create the adorable little toes of the bunny paws. Choose semi-sweet or dark chocolate for a nice balance against the sweetness of the cookie.
By combining these ingredients thoughtfully, you’ll create scrumptious bunny paw print cookies that not only taste great but also look irresistibly cute on any dessert table.
Why You’ll Love These Bunny Paw Print Cookies
Imagine bringing joy to friends and family with a batch of delightful bunny paw print cookies that not only taste delicious but also add a playful touch to any occasion. These cookies are more than just a treat; they tell a story, reminiscent of childhood Easter egg hunts and sunny spring days spent outside. They are the perfect blend of whimsy and flavor, making them ideal for sharing at gatherings or simply indulging your sweet tooth.
A Treat for the Eyes and Palate
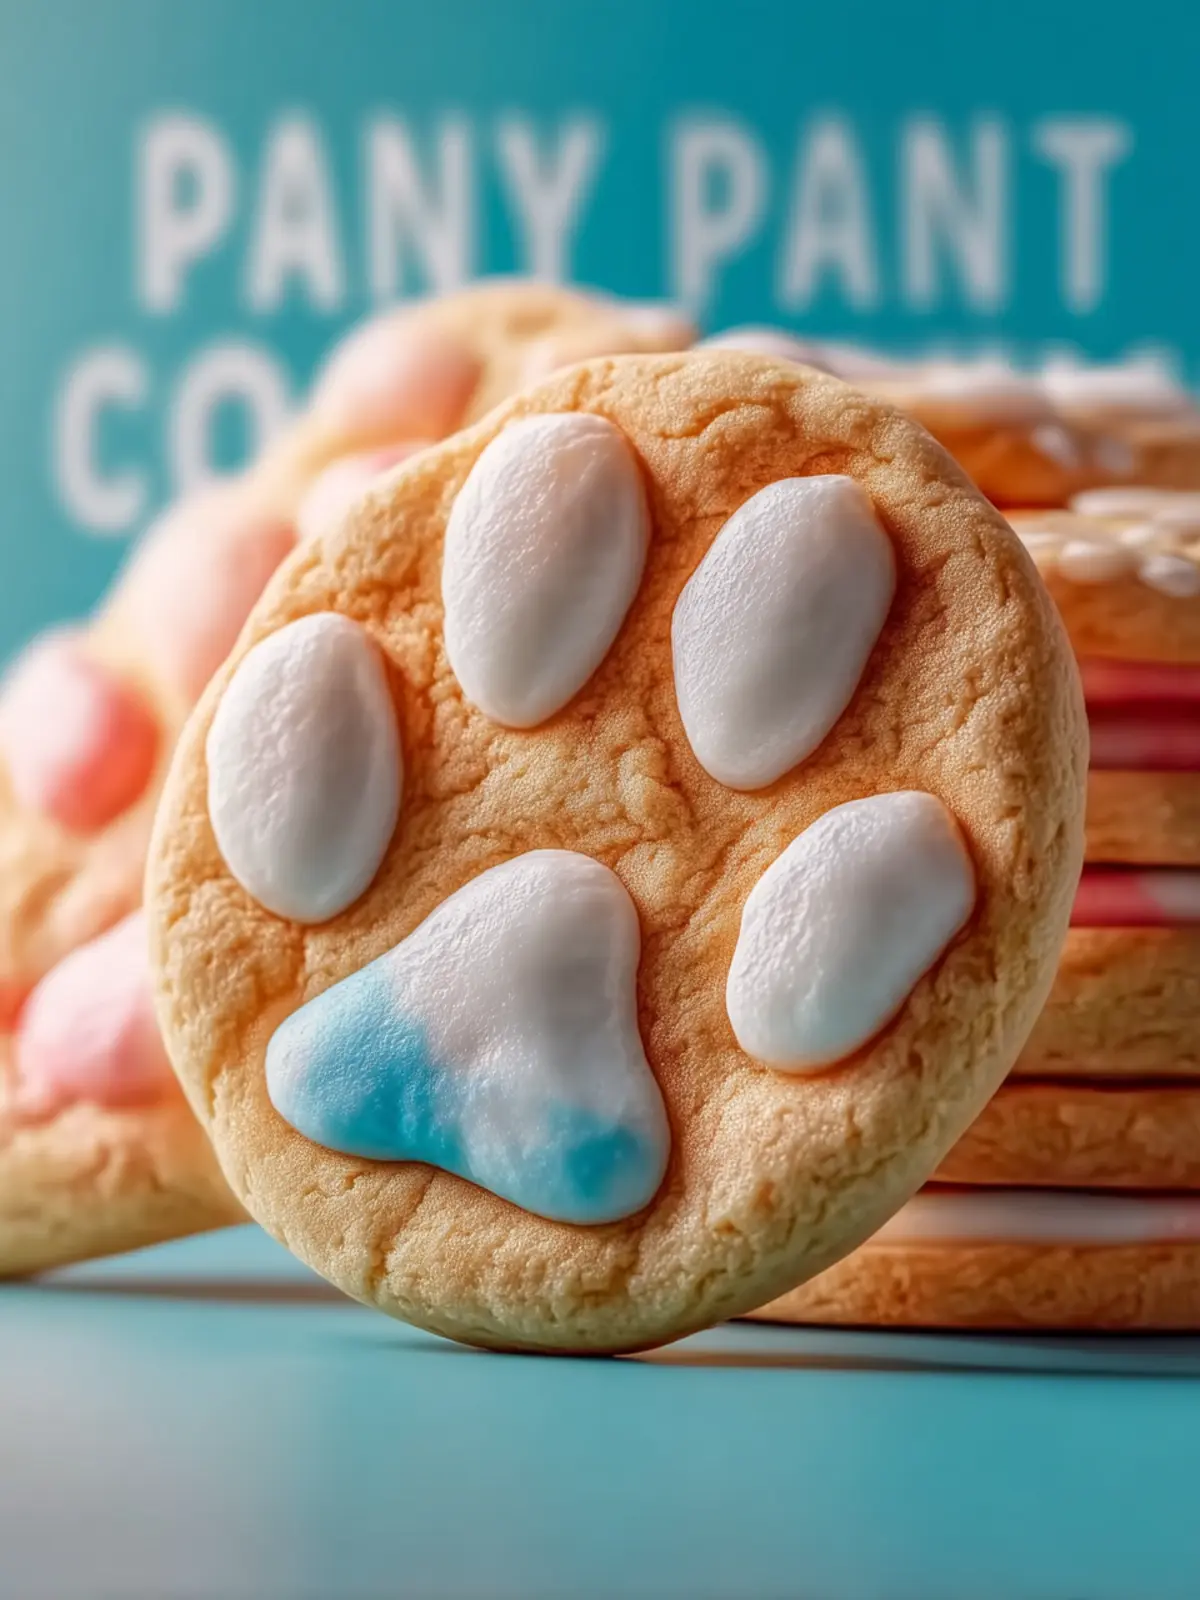
Bunny paw print cookies are a feast for the eyes, featuring adorable paw prints that are sure to spark smiles. Each cookie is soft and chewy, with a buttery sweetness that melts in your mouth. The icing provides a splash of color and a burst of flavor, complementing the cookie’s rich base.
Perfect for Every Occasion
Whether you’re celebrating Easter or just embracing the season’s spirit, these cookies fit right in. They are a fun project for a baking afternoon with friends or a creative way to entertain kids during your next gathering. Trust me, the memories you’ll create while baking—and eating—these cookies will be just as sweet as the treats themselves.
Conclusion
So, gather your ingredients and treat yourself to something truly special. Your taste buds—and everyone you share these cookies with—will thank you!
Variations of Bunny Paw Print Cookies
Bunny paw print cookies offer a delightful canvas for creativity in your baking repertoire. You can personalize these adorable cookies with various flavors and toppings that suit your taste and occasion.
Flavor Infusions
To elevate your bunny paw print cookies, consider these flavor variations:
-
Chocolate Chip Bunny Paws: Incorporate semi-sweet chocolate chips into the dough. The gooey chocolate adds a rich contrast to the sweet base and looks great poking out from the paw prints.
-
Lemon Zest Delight: For a fresh twist, add lemon zest to the dough. The citrus aroma will brighten your kitchen, creating deliciously fragrant cookies that are perfect for spring gatherings.
Colorful Icing
Don’t shy away from experimenting with colors for the icing:
-
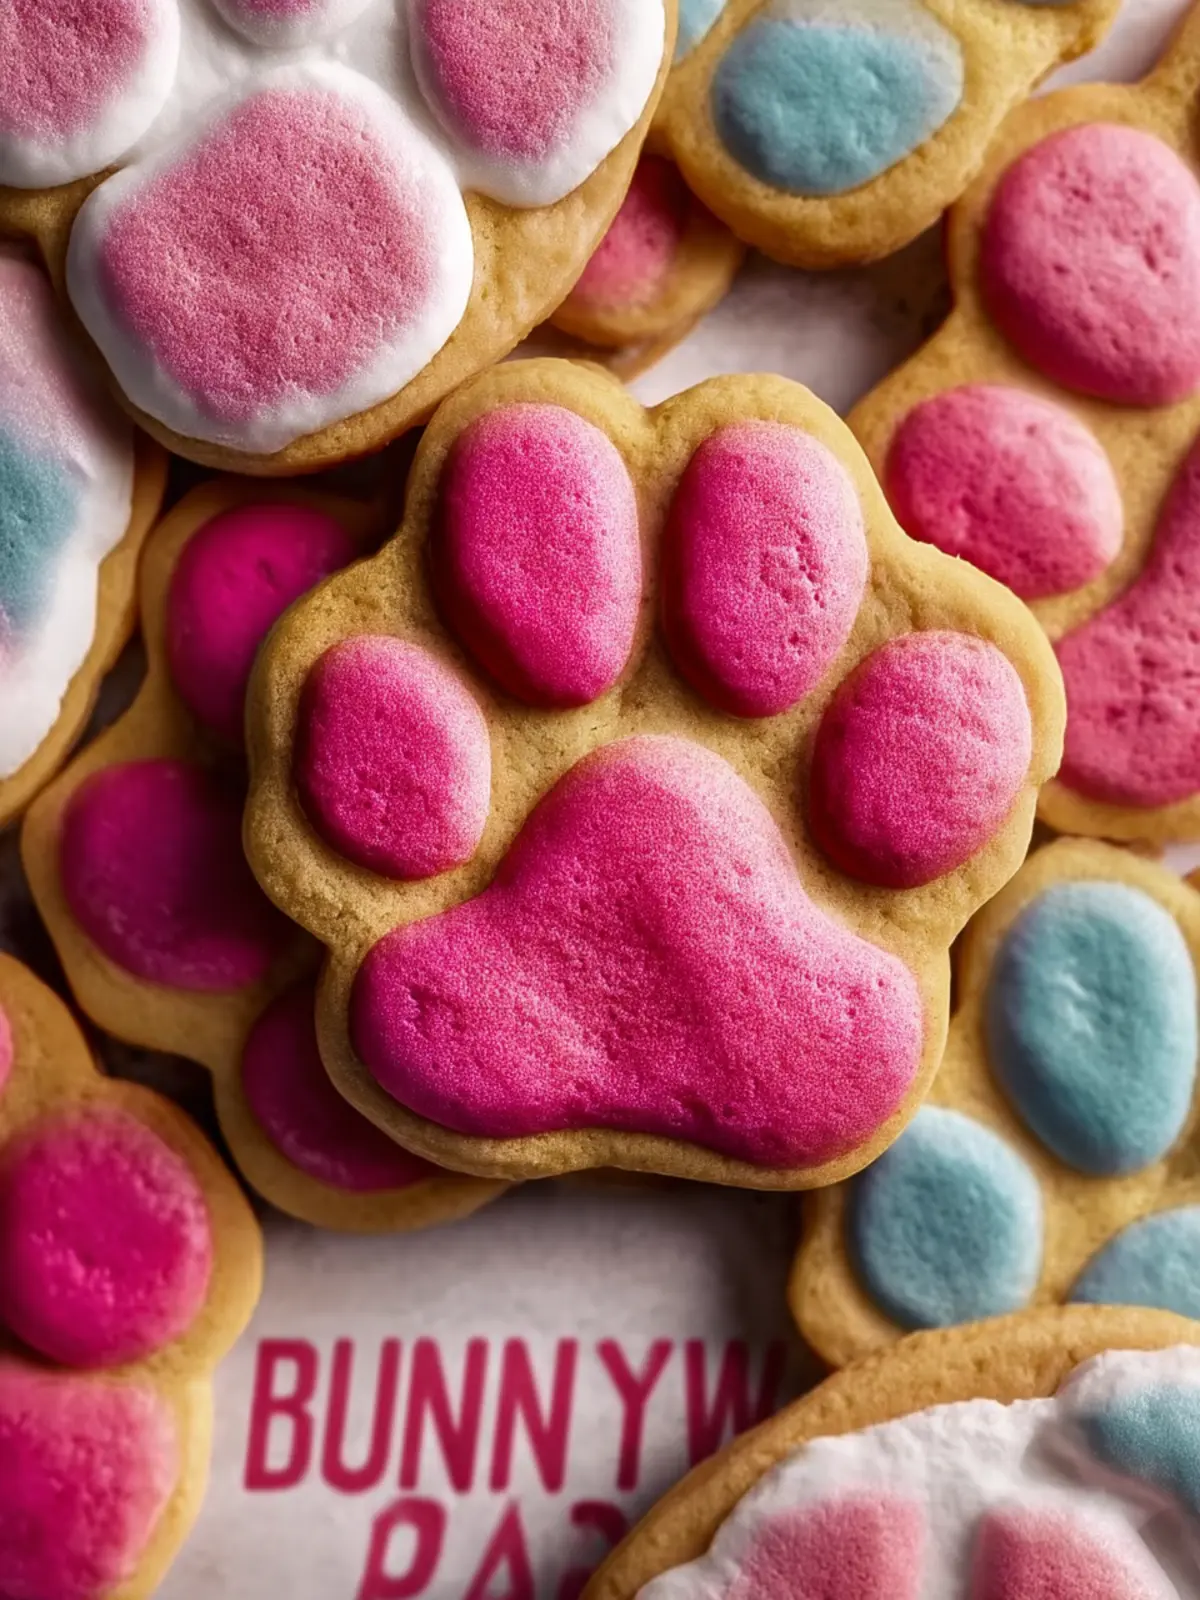
Pastel Perfection: Use pastel shades for the icing to create a playful and festive look. A simple mixture of powdered sugar and milk, combined with food coloring, can transform your cookies into an eye-catching treat.
-
Marbled Icing: Try marbling two colors of icing for an artistic flair. Just drop blobs of colored icing next to each other and swirl them gently with a toothpick before spreading them on the cookies.
Alternative Add-Ins
Consider adding delightful textures:
-
Chopped Nuts: Chopped walnuts or pecans can be a crunchy addition to the cookie dough, enhancing the overall flavor profile.
-
Sprinkles: For a festive touch, sprinkle colorful nonpareils over your icing before it sets. This adds both color and a fun texture that kids will love.
By turning ordinary bunny paw print cookies into customizable treats, you not only impress your guests but also create memorable moments in the kitchen. Whether you stick with the classic or venture into new flavors, these cookies are sure to bring smiles all around.
Cooking Tips and Notes for Bunny Paw Print Cookies
Bunny paw print cookies are not just delightful to look at; they’re a fun project for anyone looking to inject a bit of whimsy into their baking. To ensure your cookie-making experience is as smooth as possible, here are some handy tips and notes that will make your bunny paw print cookies truly stand out.
Choose the Right Dough Consistency
The success of your bunny paw print cookies heavily relies on your dough’s consistency. Make sure the dough is firm enough to hold its shape but not too dry. If it feels crumbly, add a splash of milk or water to moisten it slightly.
Cooling is Key
Once you take your cookies out of the oven, allow them to cool on the baking sheet for about five minutes before transferring them to a wire rack. This prevents breakage and lets the cookies firm up nicely, perfect for those adorable paw prints.
Personalize Your Decor
Feel free to get creative with your icing colors! Using different shades can make your bunny paw print cookies extra playful and themed for any occasion—from pastel hues for Easter to vibrant colors for birthdays.
Practice Makes Perfect
If you’re new to piping, don’t worry if your first few paw prints don’t look perfect. With a little practice, you’ll achieve that charming, distinctive look for each cookie. Plus, every cookie has its own personality!
Follow these tips, and you’re sure to have a batch of delightful bunny paw print cookies that will charm everyone around you. Happy baking!
Serving Suggestions for Bunny Paw Print Cookies
When it comes to delighting friends and family with bunny paw print cookies, the presentation can be just as thrilling as the taste. Imagine a cheerful gathering where these adorable cookies steal the spotlight, making any occasion truly memorable.
Perfect Pairings
- Milk: The classic combo! A tall glass of cold milk complements the sweet and chewy cookie texture beautifully.
- Tea Party: Serve these cookies at a cozy afternoon tea. Pair with herbal teas like chamomile or fruity blends to create a warm ambiance.
- Easter Celebrations: Make your bunny paw print cookies part of your Easter festivities. Place them in colorful baskets alongside chocolate eggs for the kids to enjoy.
Decorative Ideas
- Cookie Platters: Arrange your cookies on a bright, seasonal platter. Add flowers or greenery to enhance the spring theme.
- Personal Touch: Consider drizzling melted chocolate or adding sprinkles for additional flair that your guests will adore.
Each presentation choice not only enhances the deliciousness of the bunny paw print cookies but also creates a joyful atmosphere that brings everyone together. Enjoy the smiles they create!
Time Breakdown for Bunny Paw Print Cookies
Bunny Paw Print Cookies are not just adorable; they also bring a delightful sweetness to any occasion. To ensure you’re fully prepared, here’s a straightforward breakdown of the time you’ll need to create these delightful treats.
Preparation Time
Getting started with your bunny paw print cookies requires about 20 minutes. This includes gathering your ingredients, mixing the dough, and rolling it into the adorable paw shapes.
Chilling Time
Once your dough is ready, it should chill in the refrigerator for about 30 minutes. This helps firm it up and makes cutting out shapes easier.
Baking Time
Baking your cookies takes around 10-12 minutes. Keep an eye on them — you want them to be lightly golden for that perfect texture.
Decorating Time
Finally, decorating the baked cookies with icing and sprinkles will take around 30 minutes. This is where your creativity really shines!
Total Time
In total, you’re looking at about 1 hour and 30 minutes from start to finish. Enjoy the process and the delightful end result of your bunny paw print cookies!
Nutritional Facts for Bunny Paw Print Cookies
Bunny Paw Print Cookies aren’t just cute; they also offer a delightful mix of ingredients that contribute to their nutritional profile. Let’s break down the essentials so you can enjoy these treats guilt-free!
Calories
Each Bunny Paw Print Cookie contains approximately 150 calories, making them a sweet, moderate indulgence for any occasion.
Fat
These cookies boast about 7 grams of fat per serving. Most of this comes from butter, adding that rich flavor we all love.
Carbohydrates
With around 21 grams of carbohydrates, Bunny Paw Print Cookies provide a satisfying dose of energy, perfect for an afternoon snack or dessert.
Protein
Finally, you’ll find about 2 grams of protein in each cookie. While not a significant source of protein, it helps make these cookies a more balanced treat when paired with a glass of milk!
FAQs about Bunny Paw Print Cookies
Creating Bunny Paw Print Cookies can be a delightful and rewarding experience, filled with sugary nostalgia and creativity. If you have questions as you embark on this baking journey, here are some helpful answers to common inquiries.
What is royal icing, and how do I make it?
Royal icing is a versatile icing made from egg whites or meringue powder and powdered sugar. It dries hard, making it ideal for decorating cookies. To make it, combine 4 cups of powdered sugar with 3 tablespoons of meringue powder and 5 tablespoons of water. Mix until the icing reaches the desired consistency—thicker for outlining and thinner for flooding the cookies.
Can I use different colors for the paw prints?
Absolutely! Bunny Paw Print Cookies provide a fantastic canvas for creativity. You can use gel food coloring to achieve vibrant colors. Just add a small amount at a time until you reach your desired shade, mixing thoroughly to ensure an even color.
How do I store the decorated cookies?
To keep your decorated cookies fresh, store them in an airtight container at room temperature. If the icing has fully hardened, you can layer cookies with parchment paper in between to prevent sticking.
Can I freeze Bunny Paw Print Cookies?
Yes, you can freeze your Bunny Paw Print Cookies! For best results, freeze them before decorating. Place the cooled cookies in a single layer in freezer-safe bags or containers, and they should last up to three months. Just let them thaw at room temperature before decorating and enjoying!
With these answers, you’ll be all set to create your beautiful Bunny Paw Print Cookies and enjoy them for any occasion!
Conclusion on Bunny Paw Print Cookies
Creating your own bunny paw print cookies is a delightful way to celebrate the season or simply enjoy a fun baking project. Not only do these cookies appeal to your taste buds, but they also spark joy and creativity in your kitchen. As you indulge in these whimsical treats, remember the laughter shared and stories created around baking them. Whether you’re making them for a family gathering or just for yourself, these cookies will surely bring a smile to anyone who sees (and tastes) them. So roll up your sleeves, grab your ingredients, and let the magic of bunny paw print cookies fill your home with warmth and happiness!
Print
Sugar Cookies with Royal Icing
- Total Time: 1 hour 12 minutes
- Yield: 24 cookies 1x
- Diet: Vegetarian
Description
Delicious sugar cookies decorated with royal icing, perfect for any occasion.
Ingredients
Scale
- 2 ¾ cups all-purpose flour
- 1 teaspoon baking powder
- ½ teaspoon salt
- 1 cup unsalted butter, softened
- 1 cup granulated sugar
- 1 large egg
- 2 teaspoons vanilla extract
- 3 cups powdered sugar
- 2 tablespoons meringue powder
- 5–6 tablespoons warm water
- ½ teaspoon vanilla extract
- Pink gel food coloring
- Blue gel food coloring
- White icing for paw prints
Instructions
- In a medium bowl, whisk together flour, baking powder, and salt until evenly combined.
- In a separate large mixing bowl, beat softened butter and granulated sugar until the mixture becomes light and fluffy, about 2–3 minutes.
- Add the egg and vanilla extract and mix until smooth.
- Gradually add the dry ingredients to the butter mixture while mixing on low speed until a soft, smooth dough forms.
- Shape the dough into a disk and wrap it tightly in plastic wrap.
- Place the wrapped dough in the refrigerator for 30 minutes so the butter firms and the dough becomes easier to roll.
- Preheat the oven to 350°F (175°C) and line baking sheets with parchment paper.
- Lightly flour a work surface and roll the chilled dough to about ¼ inch thickness.
- Use a round cookie cutter about 3 inches wide to cut out circles.
- Transfer the cut cookies to the prepared baking sheets while leaving a small space between each cookie.
- Place the baking sheets in the oven and bake for 10–12 minutes until the edges turn lightly golden.
- Remove the cookies from the oven and allow them to cool completely on a wire rack before decorating.
- In a mixing bowl, combine powdered sugar and meringue powder.
- Add warm water and vanilla extract. Beat the mixture until smooth and glossy.
- The icing should hold its shape but spread easily. Add a few drops of water if the icing becomes too thick.
- Divide the icing into three bowls. Add pink gel food coloring to one bowl and mix until a soft pastel shade forms.
- Add blue gel food coloring to another bowl and mix until smooth. Leave the third bowl white for the paw print decoration.
- Spread a thin layer of pink or blue icing over each cooled cookie to create a smooth background.
- Allow the base icing to set for about 10 minutes.
- Using white icing, pipe or spoon a large oval shape in the center of each cookie to form the bunny paw pad.
- Add four small oval dots above the pad to create the toes.
- Let the icing fully set before stacking or storing the cookies.
Notes
- For a variation, you can use flavored extracts instead of vanilla.
- Make sure to store the cookies in an airtight container to keep them fresh.
- Prep Time: 30 minutes
- Cook Time: 12 minutes
- Category: Dessert
- Method: Baking
- Cuisine: American
Nutrition
- Serving Size: 2 cookies
- Calories: 150
- Sugar: 10g
- Sodium: 50mg
- Fat: 8g
- Saturated Fat: 5g
- Unsaturated Fat: 2g
- Trans Fat: 0g
- Carbohydrates: 22g
- Fiber: 0g
- Protein: 2g
- Cholesterol: 20mg