Follow Me On Social Media!

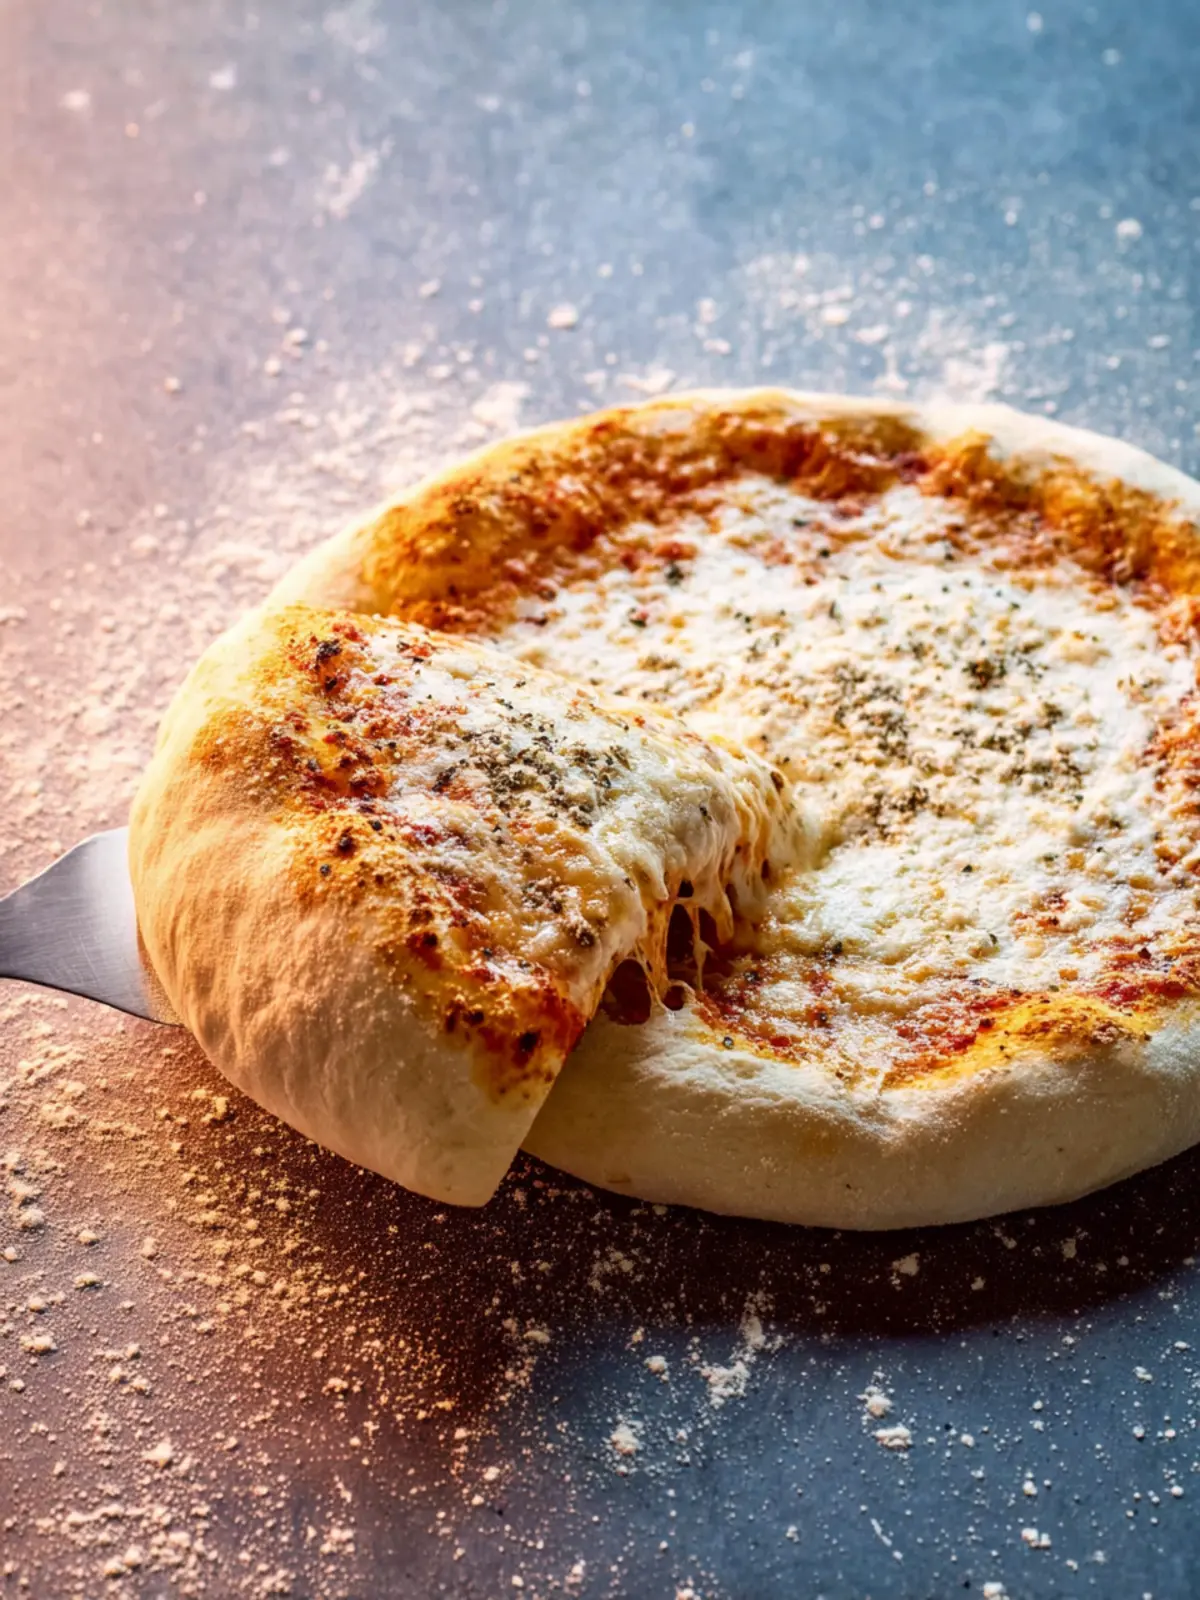
KitchenAid Pizza Dough Recipe: The Best Homemade Delight
Introduction to KitchenAid Pizza Dough Recipe
There’s something incredibly rewarding about creating a homemade pizza, especially when you start with a perfect KitchenAid Pizza Dough Recipe. Imagine the aroma of freshly baked dough wafting through your kitchen, mingling with the scent of your favorite toppings. The experience becomes even more delightful knowing that you crafted every element, knowing the quality of the ingredients, and customizing it just the way you like it.
In a world where takeout pizza is often convenient, have you ever considered the magic of homemade pizza dough? Homemade pizza dough elevates your pizza experience in numerous ways. For one, the flavors are far superior. When you make your own dough, you control the ingredients, which means you can avoid preservatives and unhealthy additives commonly found in store-bought options. Not only that, but homemade dough is typically fresher and allows for a versatility that takeout simply can’t match.
Why homemade pizza dough beats takeout
- Quality Control: You select each ingredient. Want organic flour? No problem. Prefer fresh yeast over instant? Go for it!
- Customizability: Are you a thin-crust lover or a thick-crust fanatic? With your own dough, you can make it exactly how you like it, accommodating dietary preferences easily.
- Cost-Effective: Making pizza at home is often kinder to your wallet. A few simple ingredients can yield multiple pizzas for the price of one takeout.
- Fun and Engaging: Pizza night becomes an event. Gather friends or family, share the tasks, and enjoy the sense of accomplishment that comes from cooking together.
So, are you ready to roll up your sleeves and dive into this KitchenAid Pizza Dough Recipe? You don’t just get pizza—you create a culinary masterpiece that’s sure to impress. Whether it’s a casual weeknight dinner or a weekend get-together, this dough will be your secret weapon for endless pizza possibilities. Let’s get started!
Key Ingredients for KitchenAid Pizza Dough
Creating the perfect KitchenAid pizza dough is an art that begins with choosing the right ingredients. Each element plays a vital role in crafting a crust that is both flavorful and textured just right. Let’s dive into the key components:
-
Flour: I reach for high-protein bread flour for my pizza dough. It provides that chewy texture that everyone loves. If you don’t have bread flour, all-purpose flour is a solid substitute, though the dough might be a tad softer.
-
Water: Using warm water helps activate the yeast faster. Make sure it’s not too hot—think baby bottle temperature—to avoid killing the yeast.
-
Yeast: Active dry yeast is my go-to. It’s reliable and provides great results. Just remember to proof it in warm water with a hint of sugar to wake it up!
-
Salt: Salt not only enhances flavor but also strengthens the dough. Be careful not to add it directly with the yeast, as it can inhibit its growth.
-
Olive Oil: A splash of olive oil adds richness and helps create a tender crust. Plus, it further enhances the flavor, giving your pizza that authentic touch.
With these ingredients, you’re well on your way to making a delicious KitchenAid pizza dough that rivals your favorite pizzeria!
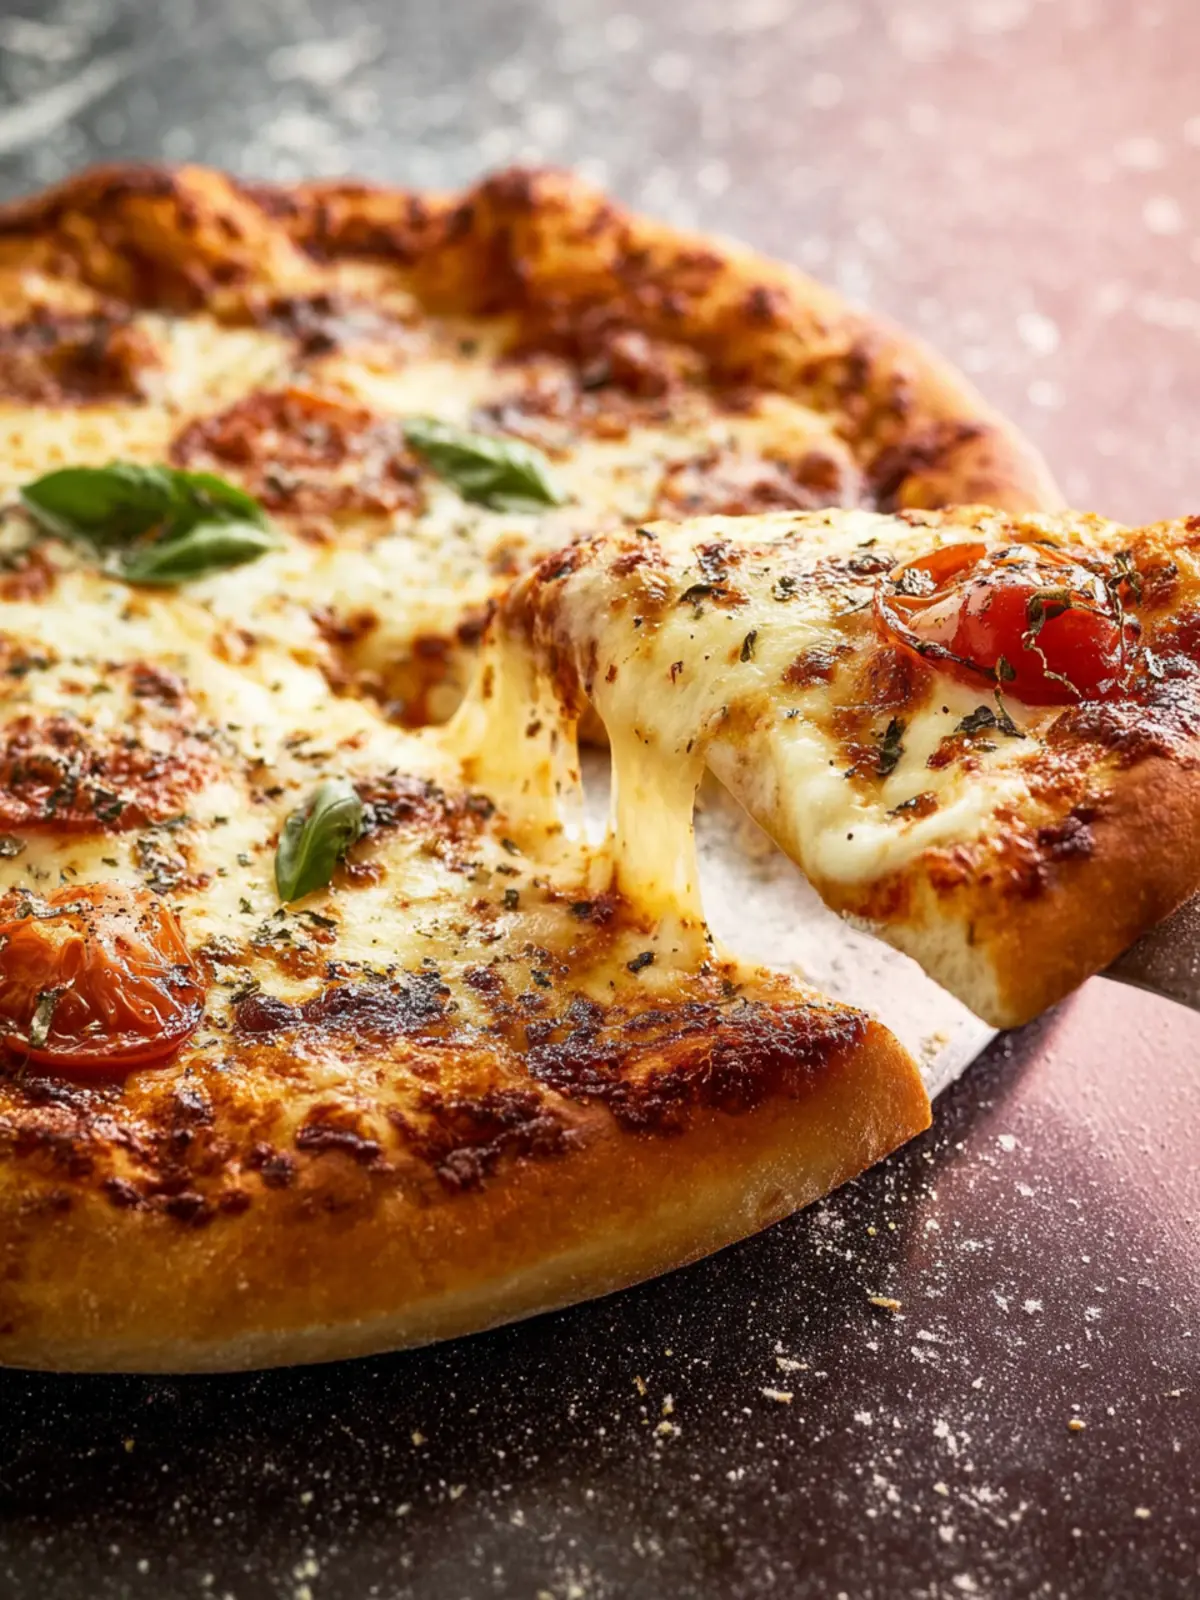
Why You’ll Love This KitchenAid Pizza Dough Recipe
Creating your own pizza dough at home can be a game changer, especially when you use this KitchenAid Pizza Dough Recipe. Imagine the aroma of freshly baked pizza wafting through your kitchen, the thrill of pulling that perfect pie from your oven, and the satisfaction of sharing it with friends. With just a few simple ingredients and your handy KitchenAid mixer, you’ll be crafting delicious restaurant-quality pizza right in your own home.
The Perfect Balance of Flavor and Texture
One of the standout features of this KitchenAid Pizza Dough Recipe is its perfect balance of flavor and texture. The dough is soft and pliable, making it easy to stretch without tearing.
- Flour: Using high-protein bread flour gives the crust that delightful chewiness we all crave. Plus, it supports a nice rise, leading to a light and airy base that stands up to your favorite toppings.
- Yeast: The magic of yeast brings the dough to life, creating those beautiful bubbles that make every bite satisfying. As it ferments, the dough develops a rich, complex flavor that store-bought versions just can’t match.
- Olive Oil: Adding a drizzle of extra virgin olive oil not only enhances flavor but also contributes to a rich, crisp crust.
You’ll soon find yourself ready to experiment with toppings, from classic margherita to bold barbecue chicken, all thanks to this straightforward yet rewarding dough recipe!
Tips for Making Perfect KitchenAid Pizza Dough
Creating a delightful KitchenAid pizza dough recipe starts with a few essential tips that can elevate your homemade pizza game. While the ingredients matter, mastering the technique is just as crucial!
Key Steps for Success
-
Quality Ingredients: Begin with high-quality flour, preferably bread flour, for better gluten development. Fresh ingredients lead to a superior dough, so opt for active dry yeast and don’t skimp on the salt.
-
Proper Hydration: Start with the right water temperature. Using lukewarm water (around 110°F) helps activate the yeast without killing it. Keep the dough slightly sticky; it can be easier to work with than dry dough.
-
Kneading Technique: When using your KitchenAid mixer, don’t rush through the kneading. Aim for at least 5-7 minutes at low speed until the dough is smooth and elastic. This develops the gluten, giving your pizza its chewy texture.
-
Rising Time: Allow your dough to rise in a warm environment until it doubles in size, typically about 1-2 hours. Patience here pays off, as the longer rise enhances flavor.
-
Shaping Your Dough: When it’s time to shape your pizza, be gentle. Overworking can make the dough tough. Use your hands to stretch it rather than a rolling pin to maintain airiness.
By following these steps, your KitchenAid pizza dough recipe will yield a delightful base for any topping you desire, making your pizza night a hit with family and friends!
Time Details for KitchenAid Pizza Dough
When perfecting a KitchenAid Pizza Dough Recipe, timing is everything. From prep to that delightful moment when you pull a golden pizza from the oven, understanding each phase can elevate your homemade experience.
Preparation time
Devote about 10-15 minutes for preparation. This includes measuring your ingredients, mixing your dough in the KitchenAid, and kneading until you achieve that smooth texture.
Rising time
Allow the dough to rise for 1-2 hours. This is crucial as it gives the yeast time to work, resulting in a light and airy crust. The warmer the environment, the quicker it rises!
Cooking time
Once your dough is prepared and stretched, cooking takes around 10-12 minutes at a high temperature. This ensures your pizza crust is crispy and the toppings are perfectly melted.
By keeping these time details in mind, you’ll be well on your way to crafting the perfect pizza!
Nutritional Information for KitchenAid Pizza Dough
Understanding the nutritional profile of your KitchenAid Pizza Dough Recipe can enhance your pizza-making experience, especially when you’re eager to indulge without the guilt. Here’s a closer look at what you’re serving up when you make this dough from scratch.
Calories
The average serving of this KitchenAid Pizza Dough typically amounts to about 120 calories. It’s a wholesome base for your favorite toppings, balancing taste and nutrition perfectly.
Carbohydrates
Expect approximately 24 grams of carbohydrates per serving. This amount provides the energy you’ll need for that evening trivia competition or a lengthy movie marathon while enjoying your homemade pizza.
Protein
Each serving delivers around 4 grams of protein. While it may not be a complete protein source, pairing it with protein-packed toppings like chicken or cheese turns your pizza into a well-rounded meal.
By keeping these nutritional stats in mind, you’ll be better prepared to create a pizza that not only satisfies your cravings but aligns with your health goals as well. Happy pizza-making!
FAQs about KitchenAid Pizza Dough
Creating the perfect KitchenAid pizza dough is just the beginning of your pizza-making journey. Many home cooks have questions that can enhance their experience and result in delicious homemade pizzas. Here’s a friendly guide to address your most pressing inquiries.
What’s the difference between Tipo 00 and all-purpose flour?
When selecting flour for your KitchenAid pizza dough recipe, you might wonder about the difference between Tipo 00 and all-purpose flour. Tipo 00 is a finely milled Italian flour that contains a lower protein level, ideal for creating an incredibly smooth and elastic dough. This type of flour gives your pizza a delightful chewy texture and improves the crust’s ability to hold toppings without becoming soggy. On the other hand, all-purpose flour is versatile and widely available, making it a great choice for many home cooks. It has a medium protein level, which can still yield tasty pizza dough, though the texture may be slightly different.
Can I freeze pizza dough?
Absolutely! One of the best things about making KitchenAid pizza dough recipe is the ability to freeze any leftover dough for future use. Simply shape the dough into a ball, wrap it tightly in plastic wrap, and place it in an airtight container or zip-top bag. It can be frozen for up to three months. When you’re ready to use it, just remove it from the freezer and let it defrost in the refrigerator overnight. This lets the gluten relax, making rolling out the dough a breeze!
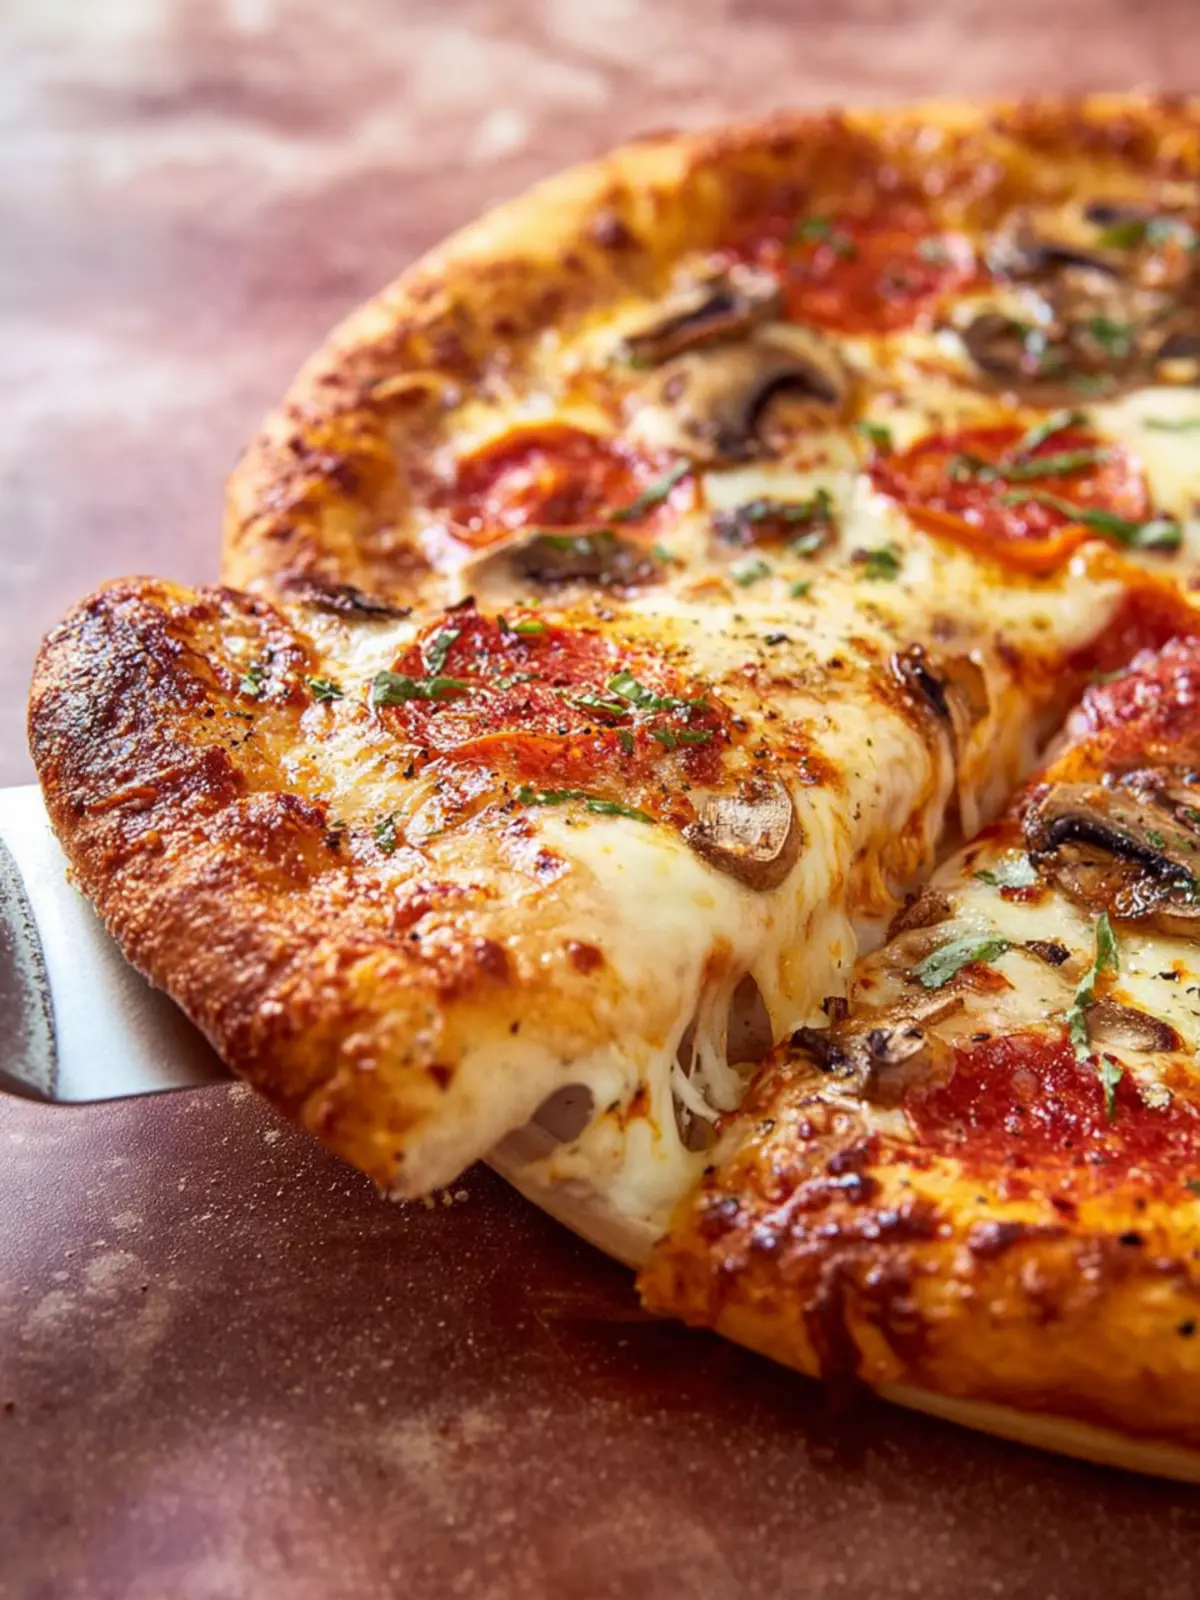
What are the best toppings for homemade pizza?
The beauty of homemade pizza lies in its endless topping possibilities. For a classic approach, you can’t go wrong with a base of marinara sauce, topped with mozzarella cheese and fresh basil. Want to mix it up? Consider:
- Pepperoni
- Sausage and bell peppers
- Mushrooms and spinach
- BBQ chicken with red onions
- A white pizza with ricotta and arugula
Feel free to experiment! Your KitchenAid pizza dough recipe serves as a blank canvas ready for your culinary creativity. Whether you prefer traditional or unique flavors, your homemade pizza will surely impress family and friends.
Conclusion on KitchenAid Pizza Dough Recipe
Bringing the KitchenAid Pizza Dough Recipe to life in your kitchen can transform your pizza nights into something truly special. The combination of high-quality ingredients, simple techniques, and the precision of your KitchenAid mixer makes the process enjoyable and rewarding. Imagine serving homemade pizza with a perfectly crispy crust, made with love as you gather with friends and family. Whether you’re topping it with classic margherita ingredients or experimenting with gourmet choices, this dough is your blank canvas. So roll up your sleeves, unleash your creativity, and savor the joy of pizza making with your very own KitchenAid creation!
Print
Easy Homemade Pizza Dough
- Total Time: 1 hour 22 minutes
- Yield: 2 pizza bases 1x
- Diet: Vegetarian
Description
Homemade pizza dough that’s easy to make and perfect for any topping.
Ingredients
Scale
- 450 grams (3 cups) Tipo 00 or all-purpose flour (see Notes)
- 2 teaspoons (1 packet) instant yeast
- 1/2 tablespoon (1 glug) olive oil
- 3/4 teaspoon (2 large pinches) kosher salt
- 1 1/3 cups warm water
- as needed Cornmeal
Instructions
- Start out by watching our Easy Homemade Pizza Dough Video to get a feel for the process.
- In the bowl of a stand mixer, combine all ingredients (except cornmeal). Leave out a small amount of the water.
- Using the dough hook from the mixer, stir until a loose dough forms. If a dough doesn’t form, add the rest of the water. If the dough is extremely wet and sticky, add a pinch of flour.
- Attach the dough hook to the mixer and start on a low speed. Gradually increase the speed to medium-low until a ball forms. This should take about 30 seconds. If the dough does not release from the sides of the bowl, add a pinch of flour. If the dough is very dry and floury, add a small amount of water.
- Once the dough forms into a ball, allow the mixer to knead for 8 minutes at medium-low (or according to your mixer instructions).
- After the kneading is finished, divide the dough in half. Using floured hands, gently shape each dough into a boule. Set each boule on a floured surface and dab with a little bit of olive oil to keep moist. Cover with a damp towel and allow to rise for 45 minutes to 1 hour. (You can freeze pizza dough you don’t plan to use the day of; see storage notes below.)
- To stretch the dough, pick up the risen dough and gently shape it into a circle. Do not over-work or fold the dough. Drape the dough over both of your knuckles and rotate it around, allowing gravity to stretch it into a circle. If the dough starts to resist stretching, put it down and allow it to rest for a few minutes, at which point it will stretch more easily.
- Sprinkle a little bit of cornmeal onto a pizza peel or rimless baking sheet. Place the stretched dough onto the peel and quickly add toppings. Cook at 500° for 5-7 minutes until browned. Enjoy!
Notes
- You can freeze pizza dough you don’t plan to use the day of.
- For best results, allow the dough to rest according to instructions.
- Prep Time: 15 minutes
- Cook Time: 7 minutes
- Category: Dough
- Method: Mixer
- Cuisine: Italian
Nutrition
- Serving Size: 1/2 pizza
- Calories: 200
- Sugar: 0g
- Sodium: 150mg
- Fat: 3g
- Saturated Fat: 0.5g
- Unsaturated Fat: 2g
- Trans Fat: 0g
- Carbohydrates: 40g
- Fiber: 2g
- Protein: 6g
- Cholesterol: 0mg